Quick answer: UV resin cures fast and shines: traditional epoxy builds strength and fills gaps. Picture a hairline crack along a plastic camera bracket or a stripped screw boss on a drone, you want a repair that looks neat, holds under stress, and doesn’t turn yellow next summer. This article lets you compare the two materials without guesswork. You’ll learn the chemistry, prep steps, application workflows, safety tradeoffs, and when one wins over the other. Expect practical tips, real repair examples, and a few honest mistakes I made so you don’t repeat them.
Quick Side‑By‑Side Comparison
Fact: UV resin cures in minutes under light while traditional epoxy cures in hours to days by chemical reaction.
At a glance, the differences matter for small plastic repairs. UV resin gives you speed, low odor, and glass‑clear finishes. Traditional epoxy gives you thicker fills, higher shear strength, and better gap‑filling ability. Use the UV resin when you need a tiny cosmetic patch, fast turnaround, or to bond clear plastics for looks. Use epoxy when the part carries load, needs structural rebuild, or when the joint has a large gap.
Semantic entities: UV resin (acrylate oligomers), traditional epoxy (bisphenol‑A/epichlorohydrin resins), LED/UV lamp, mixing cups, plastic parts (ABS, polycarbonate, nylon), camera bracket, drone mount.
Practical note: UV resin cannot cure through opaque plastics. Epoxy will cure regardless, but you must mix accurately and allow full cure time. You’ll see tradeoffs in speed, strength, and finish, pick the property that matters most for your repair.
Key Material Properties: Chemistry, Viscosity, And Adhesion
Fact: UV resin polymerizes under ultraviolet light: epoxy polymerizes via an amine hardener.
Chemistry and how it affects behavior:
UV resin uses photoinitiators. When you expose the resin to UV light at the right wavelength (commonly 365–405 nm), the photoinitiator generates radicals that link the oligomers into a hard network. This yields a fast cure but can trap oxygen at the surface, causing slight tack or surface inhibition.
Traditional epoxy involves two parts: resin and hardener. A controlled chemical reaction forms crosslinks over time. The reaction depends on ratio, temperature, and the specific hardener.
Viscosity and gap‑filling:
UV resins are usually low to medium viscosity. That helps with thin fills and precise work, but it limits their ability to fill deep voids without slumping or multiple layers.
Epoxies range from syrupy to paste‑thick. Thick epoxies fill gaps and rebuild broken bosses.
Adhesion and substrate compatibility:
UV resin bonds well to many plastics after proper prep, but it often fails on low‑surface‑energy plastics (e.g., polyethylene, polypropylene) unless you use a primer.
Epoxy bonds broadly to plastics and metals when primers or surface treatments are used, and it tolerates small surface contamination better.
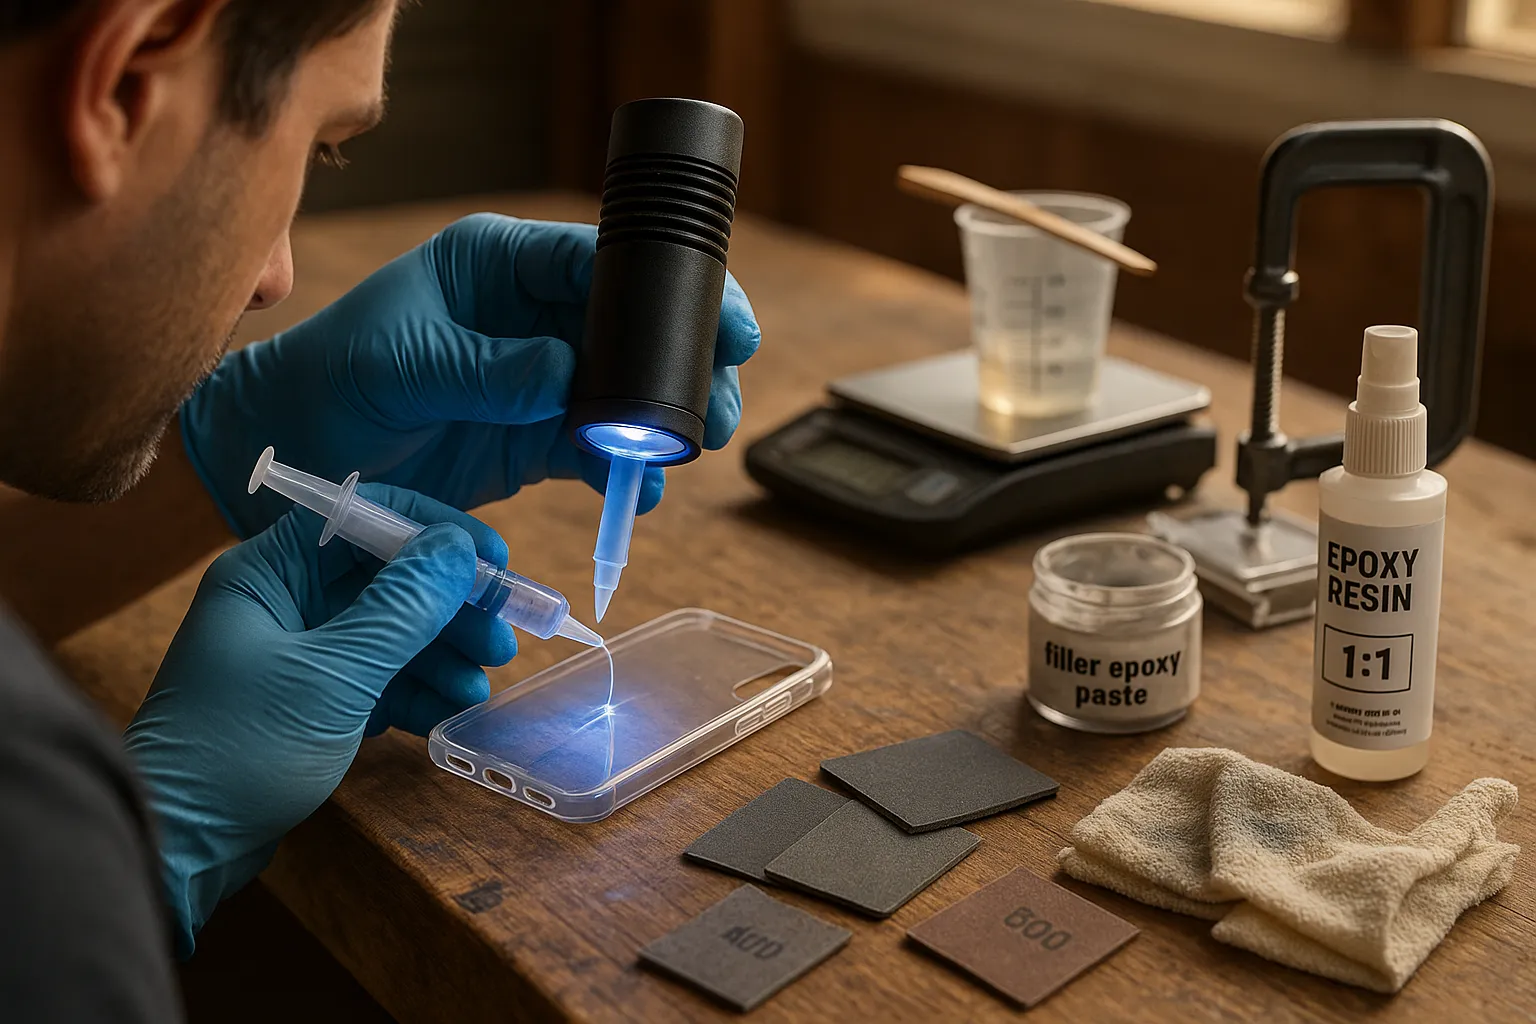
How To Prepare Plastic Surfaces For Repair
Fact: Clean, roughened, and dry surfaces bond best.
Prepare by removing grease, abrasion, and old material. Sand the repair area with 220–400 grit to create micro‑tooth. Hold the part so dust falls away: blow with compressed air or use an alcohol wipe. If the plastic is polypropylene or polyethylene, apply a specialty primer such as 3M Scotch‑Weld or a flame treatment where safe.
Surface Cleaning And Degreasing
Fact: Oils prevent adhesion.
Use isopropyl alcohol (90%+) or acetone for many plastics. Test acetone on a hidden area because it can craze or dissolve some polymers. Wipe with a lint‑free cloth and let dry. For stubborn grease, a citrus solvent or dedicated degreaser helps, follow with alcohol.
Scuffing, Priming, And Compatibility Checks
Fact: Scuffing improves mechanical grip: primers improve chemical compatibility.
Scuff lightly with sandpaper or a Scotch‑Brite pad. After scuffing clean again. When in doubt, do a test patch: apply a small bead, cure (or wait for epoxy), and then pull. Label the plastic if you expect future repairs. Compatibility charts from manufacturers like Loctite, Gorilla, and Starbond give good starting guidance.
Application Workflow: Step‑By‑Step For Each Resin Type
Fact: Each resin type has a distinct workflow that affects speed, control, and finish.
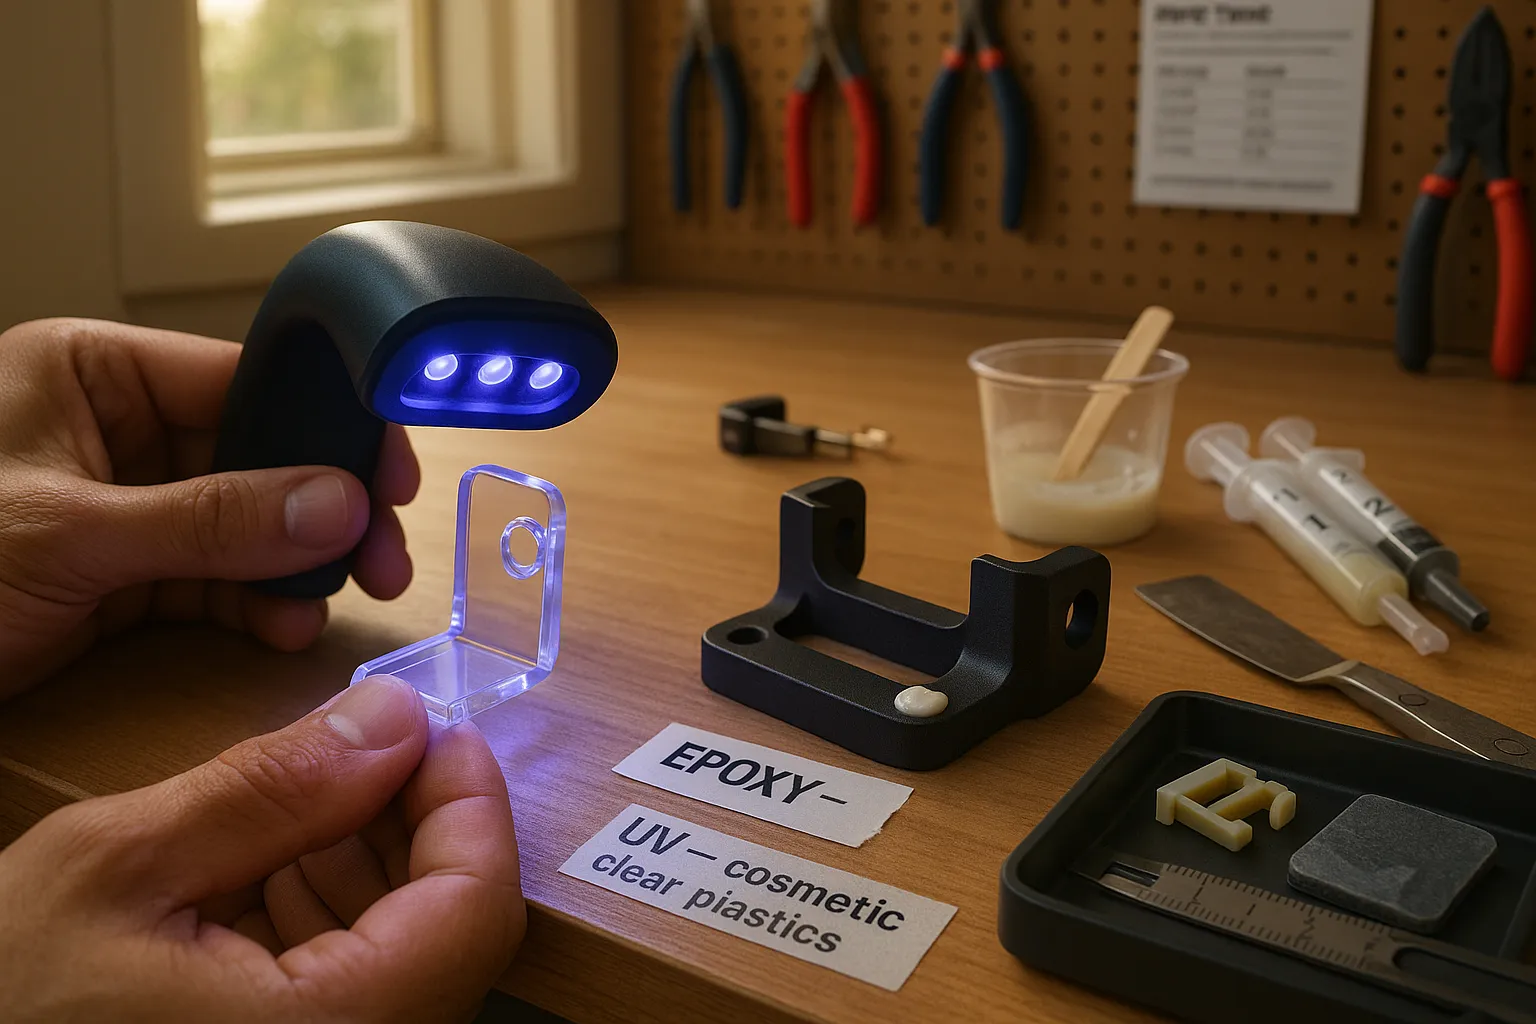
Applying UV Resin: Best Practices And Curing Tips
Fact: UV resin cures only where light reaches it.
Prepare the surface (clean and scuff).
Use small batches or applicator syringes. UV resin often comes in syringe tips for precise placement.
Apply thin layers to avoid trapped solvents and heat. Thin layers cure cleaner and reduce shrinkage.
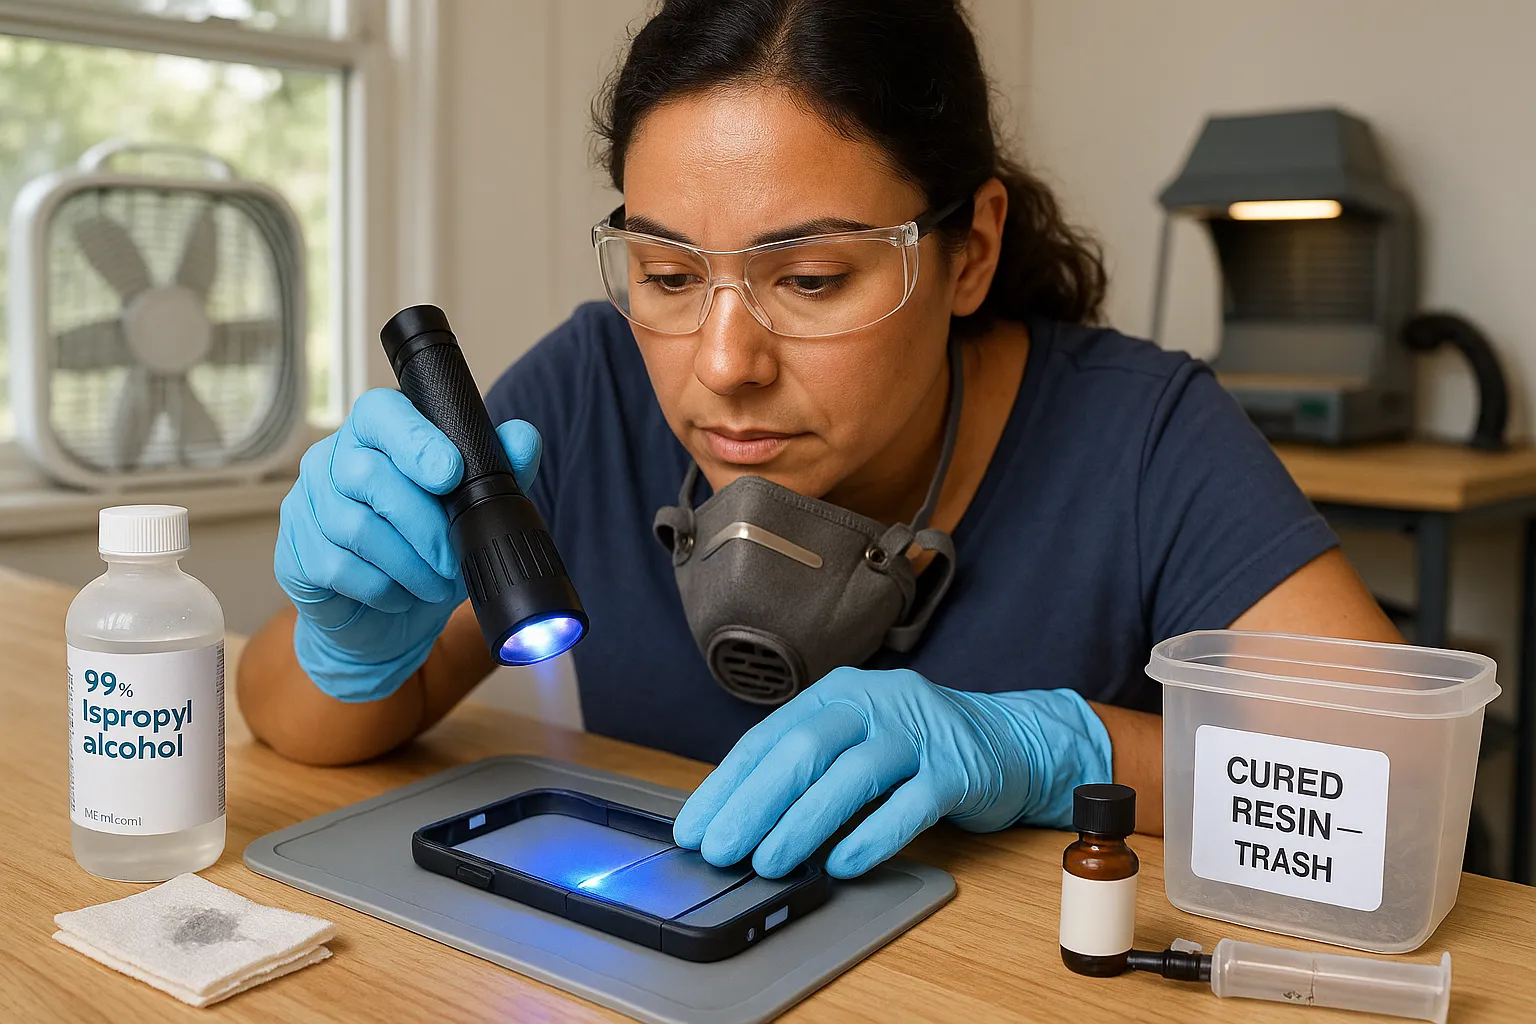
Cure with a 365–405 nm LED lamp. Hold the lamp 1–2 inches away and cure for 30–120 seconds per layer depending on lamp output.
For deep fills build in 1–2 mm layers: each must be cured before adding the next.
Tip: If the surface stays tacky, wipe gently with isopropyl alcohol and post‑cure under the lamp. Remember: opaque coverage prevents full cure below the surface.
Working With Traditional Epoxy: Mixing, Clamping, And Cure Times
Fact: Epoxy strength depends on accurate mix ratio and cure time.
Read the manufacturer ratio by weight or volume. Use a scale for accuracy.
Mix slowly to reduce bubbles. Scrape sides and bottom to incorporate both parts.
Apply and clamp if the repair needs alignment. Epoxy tolerates clamps and jigs: it resists slumping in thicker formulations.
Allow full cure at recommended temperature. Many epoxies become handleable in 4–12 hours but reach full strength in 24–72 hours.
Tip: Heat speeds cure and often improves final hardness, but don’t overheat, that can weaken the bond.
Layering, Gap Filling, And Achieving A Smooth Finish (Both Types)
Fact: Multiple thin passes give the best finish and bond.
For cosmetic work, use UV resin topcoats for gloss over an epoxy core, epoxy for structure, UV for finish.
Sand between layers with fine grit (400–800) and clean before next layer.
Use filler epoxy pastes for holes larger than a few millimeters: sculpt while tacky then final sand.
For transparent parts, clamp to maintain alignment: use clear UV resin sparingly to avoid internal stress causing crazing.
Performance, Durability, And Environmental Resistance
Fact: Epoxy is usually tougher: UV resin resists yellowing less consistently.
Bond Strength And Mechanical Properties
Fact: Epoxy generally offers higher shear and peel strength for structural joints.
Testing and experience show two‑part epoxies often yield higher lap shear results on plastics, particularly when using primers. UV resins can achieve strong bonds in thin joints, but their mechanical toughness may be lower under repeated flexing.
Resistance To Heat, Chemicals, And UV Exposure
Fact: Epoxy tolerates heat and chemicals better: many UV resins soften sooner under heat.
Epoxies rated for high temperature hold shape at 80–120°C. UV resins sometimes soften at lower temperatures (40–70°C) depending on formulation. Chemical resistance varies: solvent exposure (acetone, gasoline) can attack both, but high‑grade epoxies resist solvents longer.
Long‑Term Aging, Yellowing, And Flexibility Considerations
Fact: UV resin may yellow faster under sunlight: chosen formulation matters.
Many clear UV resins show some yellowing after months of outdoor exposure. Specialty UV‑stable formulations exist, and adding UV stabilizers helps. Epoxy can also yellow but thick epoxies with low amine content resist discoloration better. For parts that flex, select flexible epoxies or flexible acrylic adhesives: rigid UV resins may crack under repeated bending.
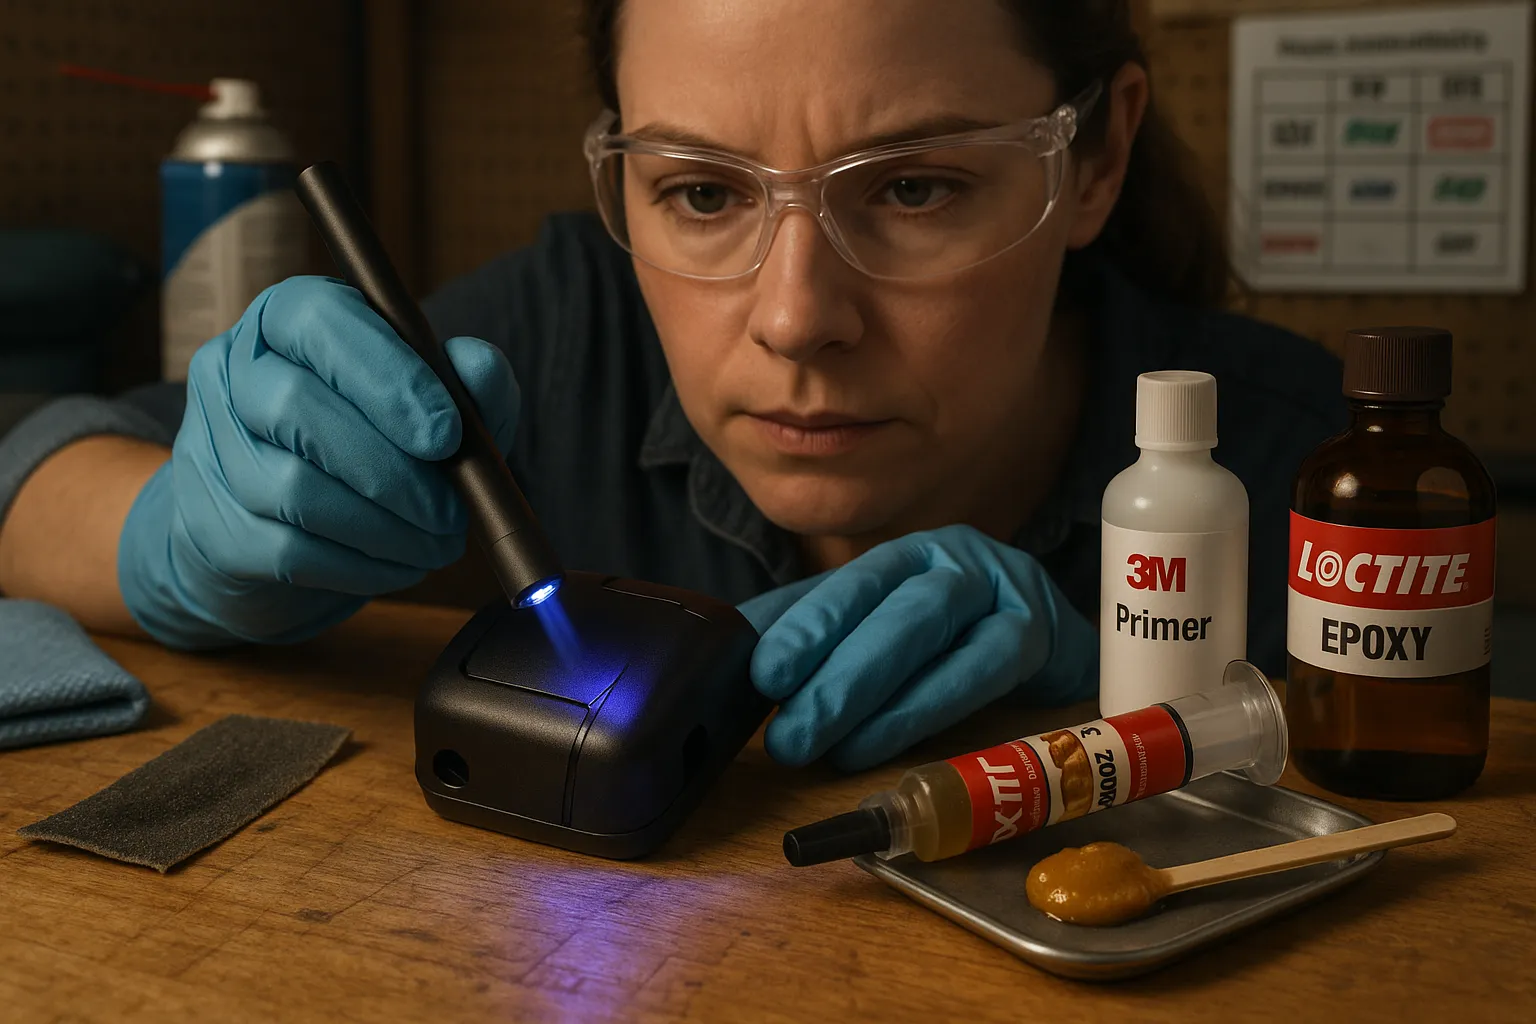
Safety, Handling, And Cleanup
Fact: Both materials require PPE and good ventilation.
Personal Protective Equipment And Ventilation Needs
Fact: Wear gloves, eye protection, and work with ventilation.
Use nitrile gloves and safety glasses. UV lamps emit intense light, avoid direct skin and eye exposure. Work near a window or use a fume hood for epoxies: some epoxies emit VOCs during cure. A simple fan and an N95 or organic vapor respirator helps for longer sessions.
Spill, Skin Contact, And Disposal Guidelines
Fact: Clean uncured resin with solvent: cured resin must be disposed as solid waste.
Wipe spills of uncured resin with paper towel and isopropyl alcohol. For skin contact, wash with soap and water immediately: uncured resins can sensitize skin and cause allergic dermatitis over time. Hardened bits can go in household trash for most jurisdictions, but check local hazardous waste rules for large quantities. Don’t pour mixed epoxy down the drain.
Troubleshooting Common Problems
Fact: Most failures trace back to surface contamination, wrong cure method, or incorrect mix ratio.
Poor Adhesion, Bubbles, And Incomplete Cures
Fact: Contamination and oxygen cause adhesion and cure problems.
If adhesion fails, recheck prep: clean, scuff, primer. For bubbles, mix slowly, warm parts slightly (not hot), and use a vacuum degassing chamber or let bubbles rise before curing. Incomplete cures in UV work happen when light cannot reach the resin: thin layers fix that. Incomplete epoxy cures usually come from wrong mix ratio, discard the batch and start over.
Surface Blooming, Cracking, And Post‑Cure Issues
Fact: Shrinkage and internal stress cause blooming and cracking.
Surface blooming in UV resin can appear as a tacky layer: wipe with alcohol and post‑cure. Cracks often come from thermal or mechanical stress. If a repair cracks after curing, you may need to route out the crack, re‑prep, and apply a flexible adhesive or reinforcement. Honesty moment: I once left a glued drone arm under direct sun and the epoxy stressed and cracked, I should have used a heat‑resistant formulation.
Deciding Which Resin To Use: A Practical Decision Guide
Fact: Choose based on strength needs, gap size, speed, and visibility.
When To Use UV Resin: Speed, Small Repairs, And Visibility Needs
Fact: Use UV resin for fast fixes, surface chips, and clear cosmetic spots.
Pick UV resin when you need a quick, clear patch on lenses, clear housings, or to fill hairline chips. It works great for jewelry repairs, camera trim, and small tabs. You also use UV resin when you require rapid set and immediate handling.
When To Use Traditional Epoxy: Strength, Large Gaps, And Structural Repairs
Fact: Use epoxy when you need structural strength, gap fill, or durable bonds.
Choose epoxy for broken mounts, stripped bosses, load‑bearing joints, and parts that see heat. Epoxy lets you rebuild geometry, add fiberglass reinforcement, and control cure speed with different hardeners.
Quick Selection Checklist And Example Use Cases
Fact: Match the repair to the resin’s strengths.
Checklist:
Small cosmetic crack, clear plastic, fast cure -> UV resin.
Stripped screw boss, large gap, structural load -> Epoxy.
Need both strength and finish -> Epoxy core + UV topcoat.
Example cases: Fixing a camera bracket on a GoPro: epoxy for the mount, UV resin for the visible seam. Repairing a headphone earcup clip: UV resin for the clip tip if small: epoxy for the hinge base. Repairing a polypropylene bumper tab: use a polypropylene primer and epoxy or a specialized plastic weld.
Final call to action: Test on scraps, pick the material whose strengths match your failure mode, and always document the mix, batch, and cure conditions for repeated success. Good repairs start with a small patch test, do that first, you won’t regret it.
To provide the best experiences, we use technologies like cookies to store and/or access device information. Consenting to these technologies will allow us to process data such as browsing behaviour or unique IDs on this site. Not consenting or withdrawing consent, may adversely affect certain features and functions.
Functional
Always active
The technical storage or access is strictly necessary for the legitimate purpose of enabling the use of a specific service explicitly requested by the subscriber or user, or for the sole purpose of carrying out the transmission of a communication over an electronic communications network.
Preferences
The technical storage or access is necessary for the legitimate purpose of storing preferences that are not requested by the subscriber or user.
Statistics
The technical storage or access that is used exclusively for statistical purposes.The technical storage or access that is used exclusively for anonymous statistical purposes. Without a subpoena, voluntary compliance on the part of your Internet Service Provider, or additional records from a third party, information stored or retrieved for this purpose alone cannot usually be used to identify you.
Marketing
The technical storage or access is required to create user profiles to send advertising, or to track the user on a website or across several websites for similar marketing purposes.