Smart home PCBs, think the tiny boards inside your Nest thermostat, Philips Hue hub, or a Zigbee switch, fail in ways that feel personal: a loose pad, a cracked trace, a popped surface-mount resistor. Choosing between a soldering iron and conductive glue decides whether that board lives to control your lights another year. This article gives you crisp, hands-on guidance so you can pick the right method, execute the repair, and understand trade-offs few hobby guides admit. Expect clear steps, brand-aware tool picks (Hakko, Kester, Loctite), and real-world tips that reduce guesswork and wasted parts.
Quick Comparison: Key Differences At A Glance
Fact: Soldering gives stronger electrical and mechanical bonds: conductive glue gives flexibility and ease. Soldering melts metal alloys (usually tin-lead or lead-free) and forms metallic joints between component leads and copper pads. Conductive glue (typically silver-filled epoxy like Loctite Ablestik or MG Chemicals) creates a conductive path without heat.
Compare speed: soldering usually takes less time for skilled hands, but prep and cleanup can extend the job. Compare accessibility: conductive glue works where heat would damage sensors, plastics, or glued assemblies. Compare durability: solder joints resist vibration and thermal cycling better: conductive glue may degrade under moisture and high current.
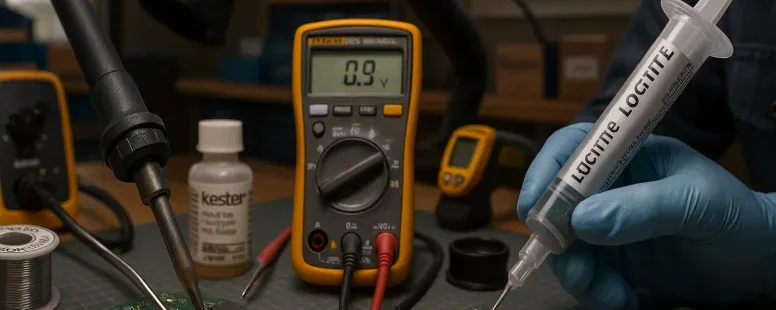
Semantic entities: Hakko 888D (soldering station), Kester 44 (solder paste/wire), Loctite ECI 1010 (conductive epoxy), Fluke 115 (multimeter). These names help you map recommendations to real products.
When To Choose A Soldering Iron
Fact: Choose a soldering iron when you need reliable electrical continuity and mechanical strength. Use solder when you repair power traces, replace connectors, or reattach components that see torque or frequent handling.
You should pick solder when the PCB uses through-hole parts, larger SMD parts (like SOIC or QFN pads with thermal pads), or when current flow is significant (motors, relays, power regulators). Solder is the standard for industry repairs, Raspberry Pi GPIO pins, USB connectors on a smart doorbell, and relay terminals on a smart switch all favor solder.
Anecdote: I once fixed a smart plug’s burnt micro-USB connector with a Hakko station and Kester 44: the plug survived daily unplugging for two years. That sort of mechanical resilience comes from metal-on-metal bonds.
Warnings: Avoid soldering directly on temperature-sensitive sensors or plastic housings without heat shielding. If the board has flexible traces or delicate pads lifted from the substrate, soldering can make things worse unless you use flux, low heat, and a fine tip.
When To Choose Conductive Glue
Fact: Choose conductive glue when heat would harm the component or when you need strain relief and some flexibility. Use conductive glue for tiny sensors, delicate LEDs, or when a pad has lifted and you need an adhesive that conducts.
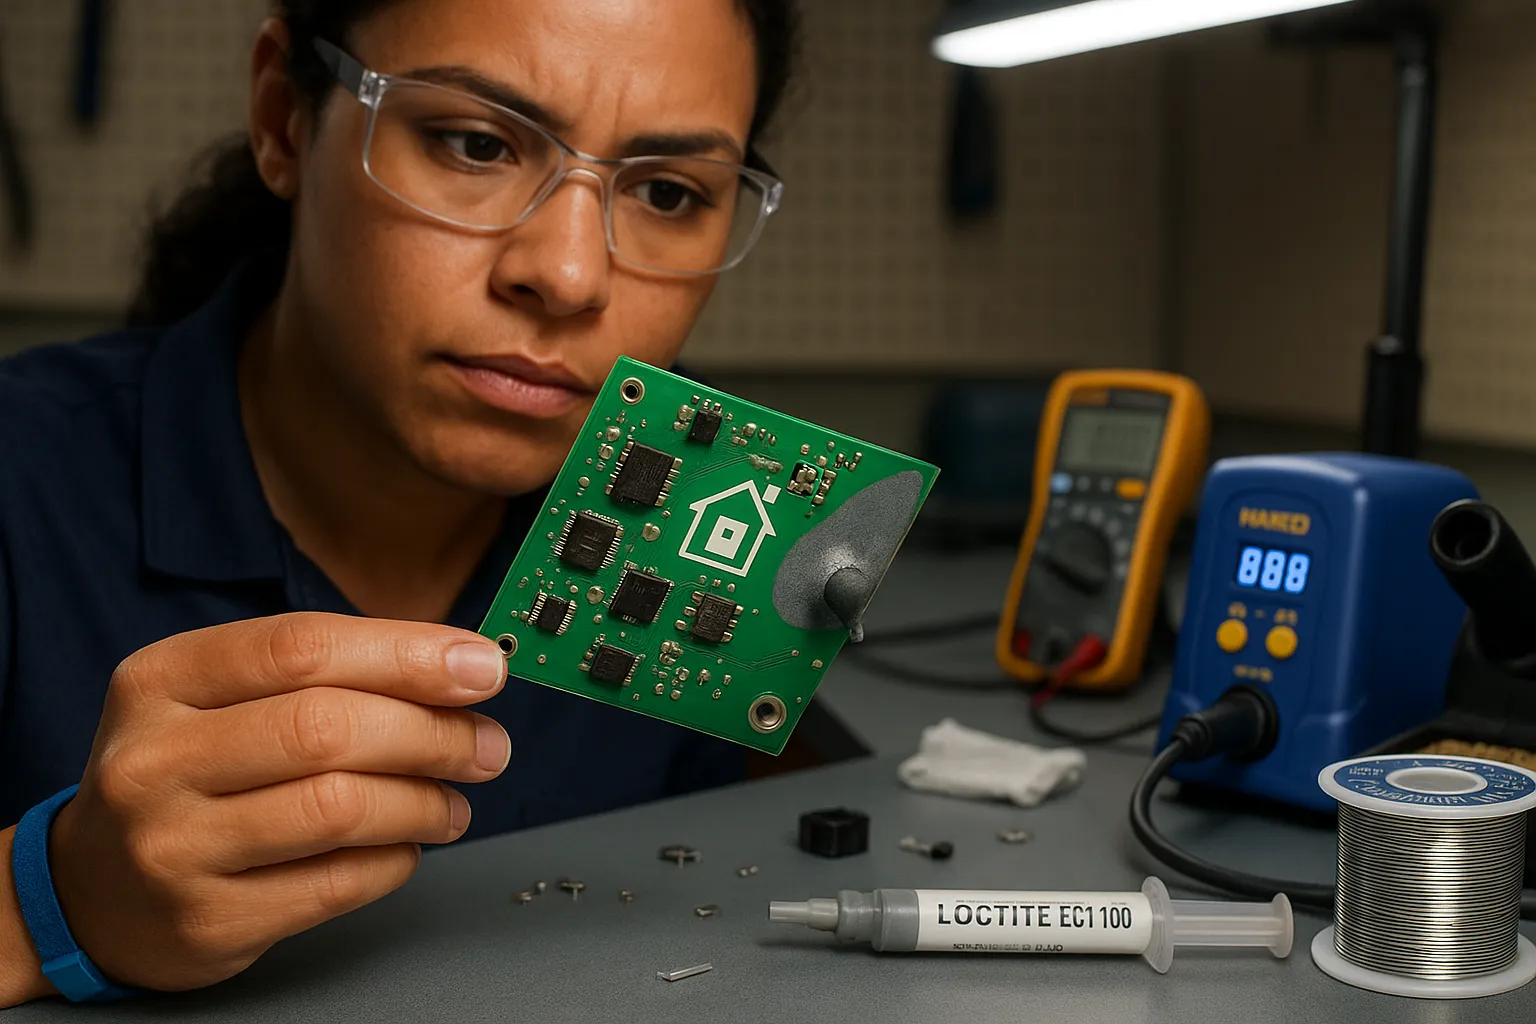
Conductive glue excels in bonding plastic-to-metal interfaces or encapsulating fragile flex-PCB joints. For example, a broken antenna trace on a Zigbee module or a cracked LED bond on a smart bulb often respond well to silver epoxy.
Real-world trade-off: Conductive glue reduces the need for thermal control but you sacrifice long-term high-current reliability. Manufacturers like Loctite and MG Chemicals list maximum current ratings: follow them. Also, curing time matters, some epoxies need heat or 24–48 hours at room temperature.
Practical tip: Use conductive glue when you plan to pot or conformally coat the repair, this adds moisture resistance and mechanical support that the epoxy alone may lack.
Pros And Cons: Performance, Reliability, And Usability
Fact: Soldering is higher performance: conductive glue scores higher on ease and low-heat safety.
Pros of soldering:
Superior electrical conductivity and low contact resistance.
Strong mechanical joints for connectors and heavy components.
Proven reliability under thermal cycling.
Cons of soldering:
Requires skill, hot tools, and good ventilation.
Risk of heat damage to plastic parts and nearby components.
Lifted pads can tear further if you apply too much heat.
Pros of conductive glue:
No high heat, so you can repair plastic housings and heat-sensitive sensors.
Acts as both adhesive and conductor, useful for strain relief.
Easier for beginners to apply with a syringe.
Cons of conductive glue:
Higher resistance than solder, can cause voltage drops in power paths.
Degrades under moisture, high temperature, and vibration unless protected.
Longer cure time: some formulations are brittle after cure.
Entity note: Fluke multimeters measure contact resistance: use them to compare pre- and post-repair continuity. Kester flux helps soldering: use no-clean flux sparingly.
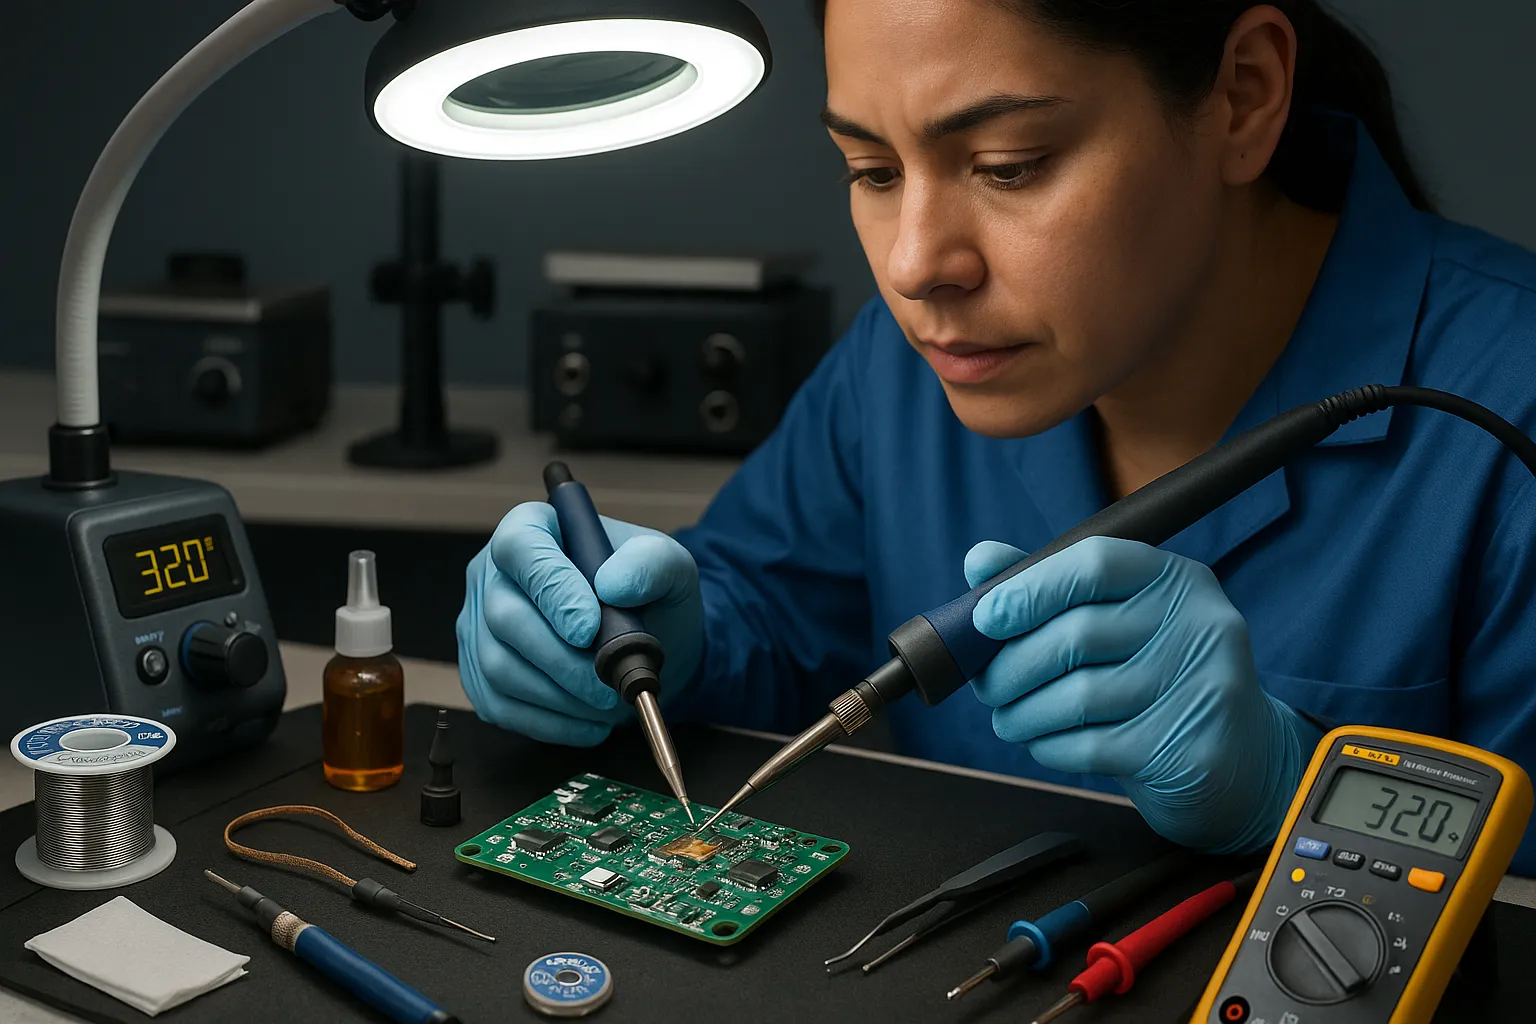
Step-By-Step Repair Guide: Soldering Iron Method
Fact: Proper prep and the right tip lower the chance of collateral damage. Read these steps before you touch hot metal.
Preparing The Board And Tools
Fact: Clean, stable work reduces mistakes. Use a Hakko 888D or similar station set to appropriate temperature (300–350°C for lead-free, 280–320°C for eutectic solder). Lay anti-static mat, gather flux (Kester No-Clean), solder wire (0.6–0.8 mm), fine tip, tweezers, and a Fluke multimeter.
Removing Old Solder And Cleaning Pads
Fact: Remove old solder with braid or a solder sucker: clean with isopropyl alcohol. Heat the joint evenly, wick away solder with desoldering braid, then apply flux and clean residue with 90%+ IPA. If a pad has lifted, stop and assess: you may need to bridge with thin copper tape before soldering.
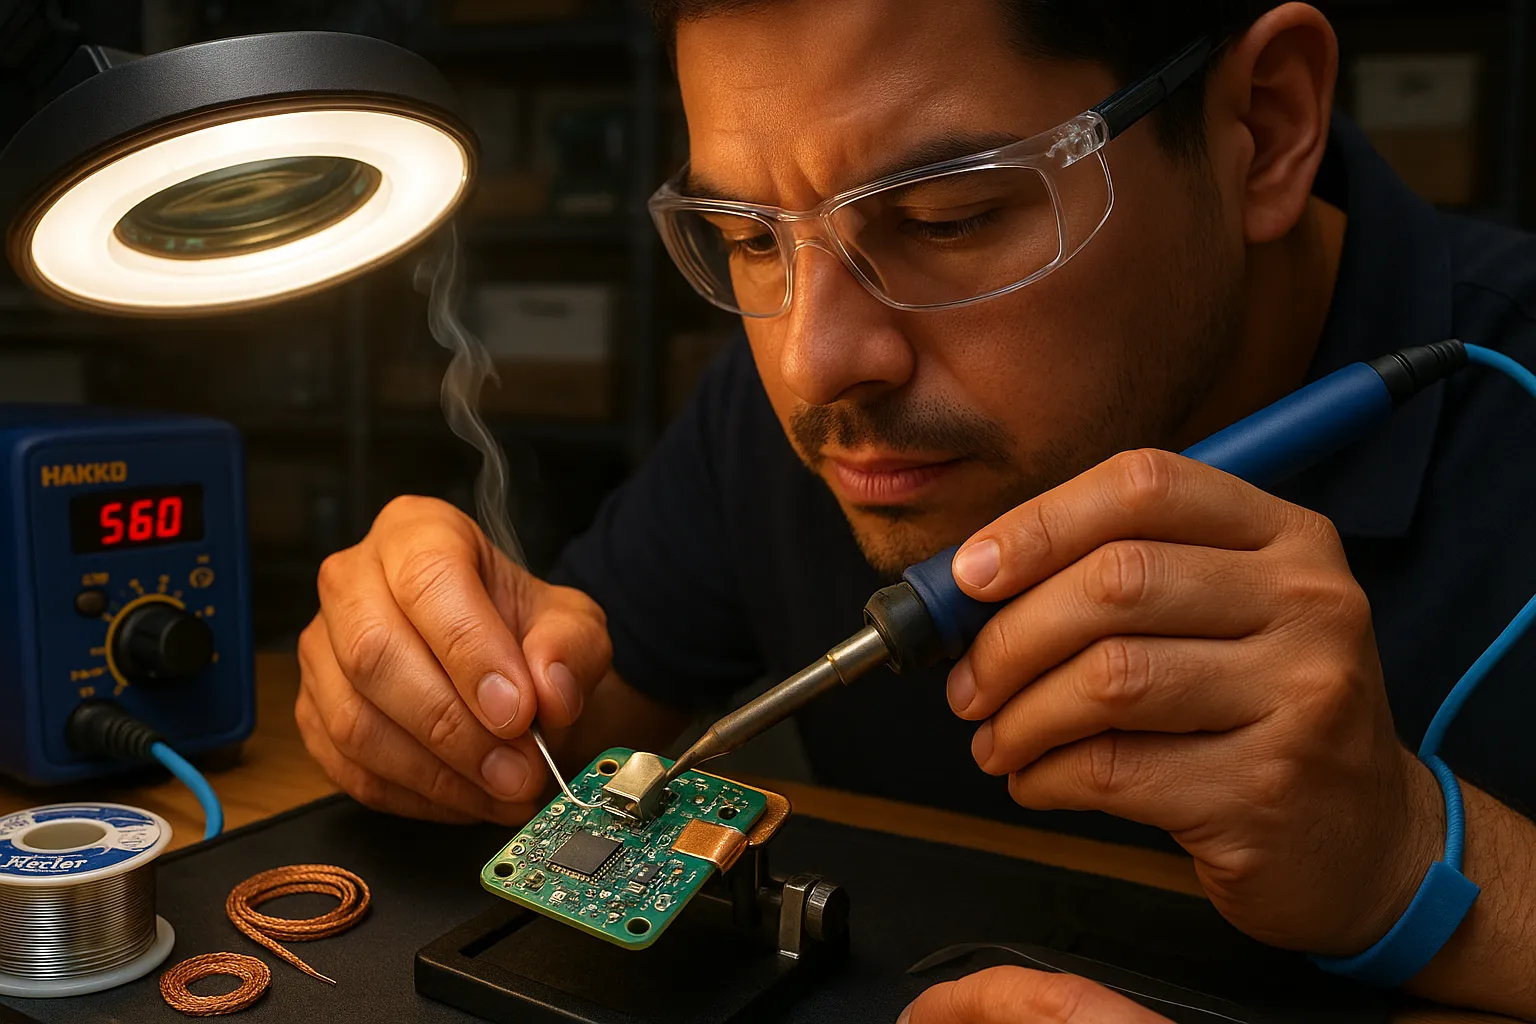
Soldering Small Surface Mount Components Safely
Fact: Use minimal heat contact time and small tip sizes. Hold the component with tweezers, tack one pad quickly, align, then solder the opposite pad. Use magnification or a microscope for 0201–0603 parts. For thermal pads, preheat the board on a hot plate or use a hot-air rework station.
Finishing, Inspection, And Stress Testing
Fact: Inspect joints with 10x loupe: test continuity and resistance. Look for shiny, smooth fillets (or dull if lead-free). Run a multimeter continuity test, and power the device through a current-limited supply. Cycle the device thermally if possible (room to 60°C) to check stability.
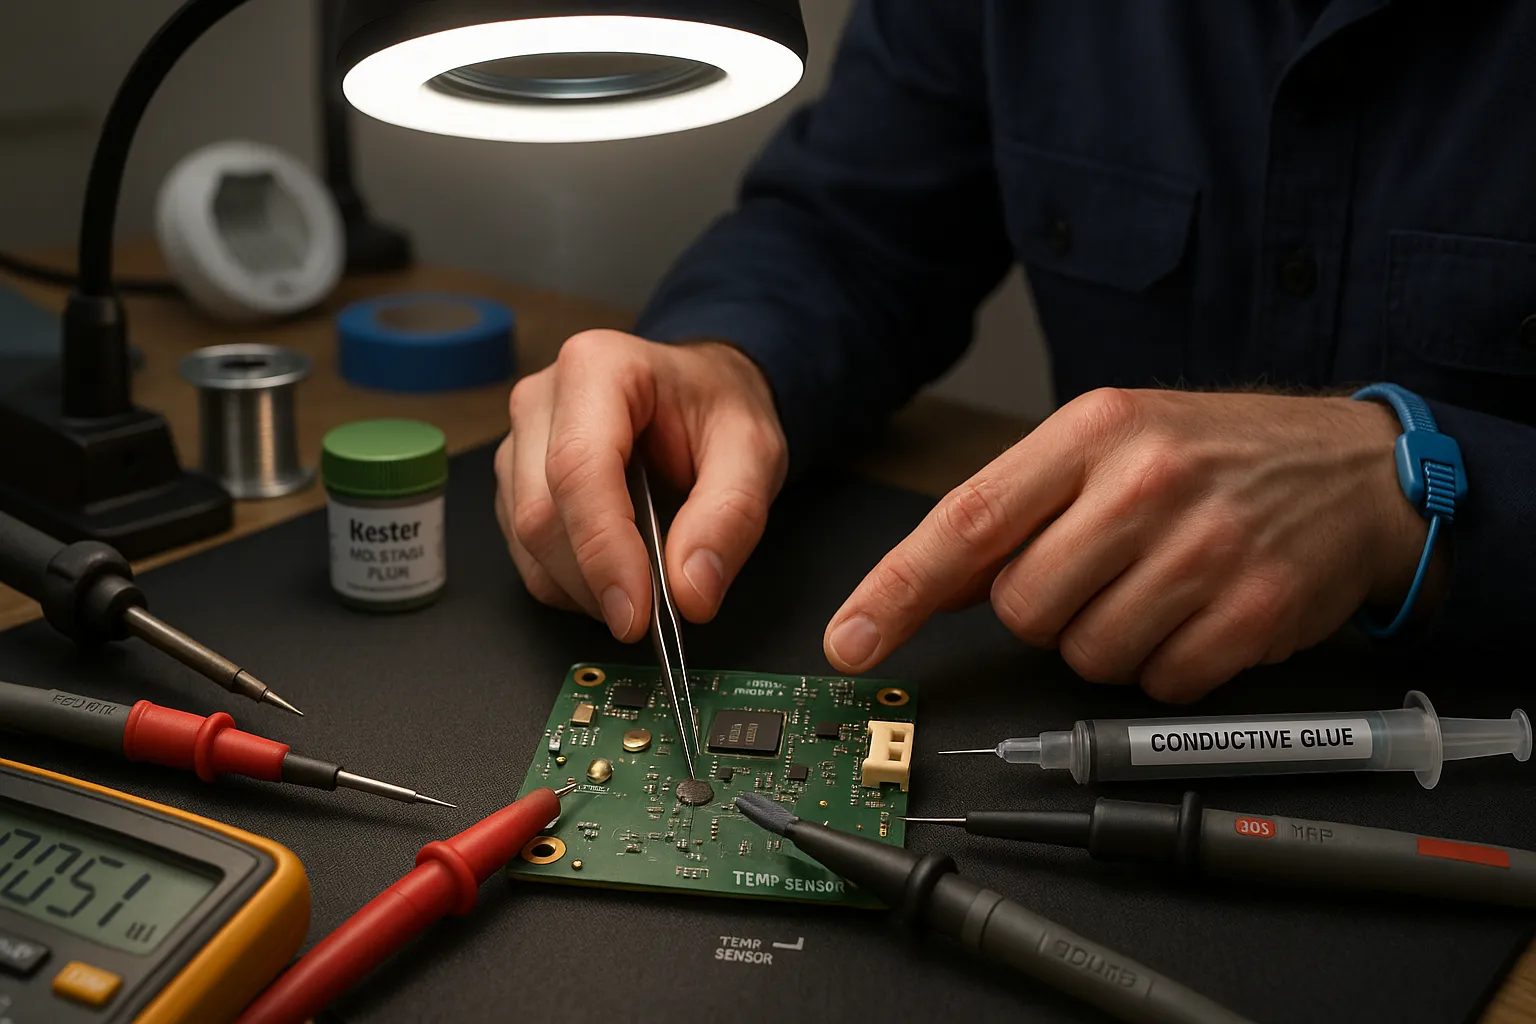
Step-By-Step Repair Guide: Conductive Glue Method
Fact: Conductive glue needs proper surface prep and controlled application to work well.
When Adhesion And Flexibility Matter
Fact: Choose glue when strain or heat sensitivity is a factor. Use conductive epoxy for bonding flexible traces or glued assemblies where soldering would worsen the tear.
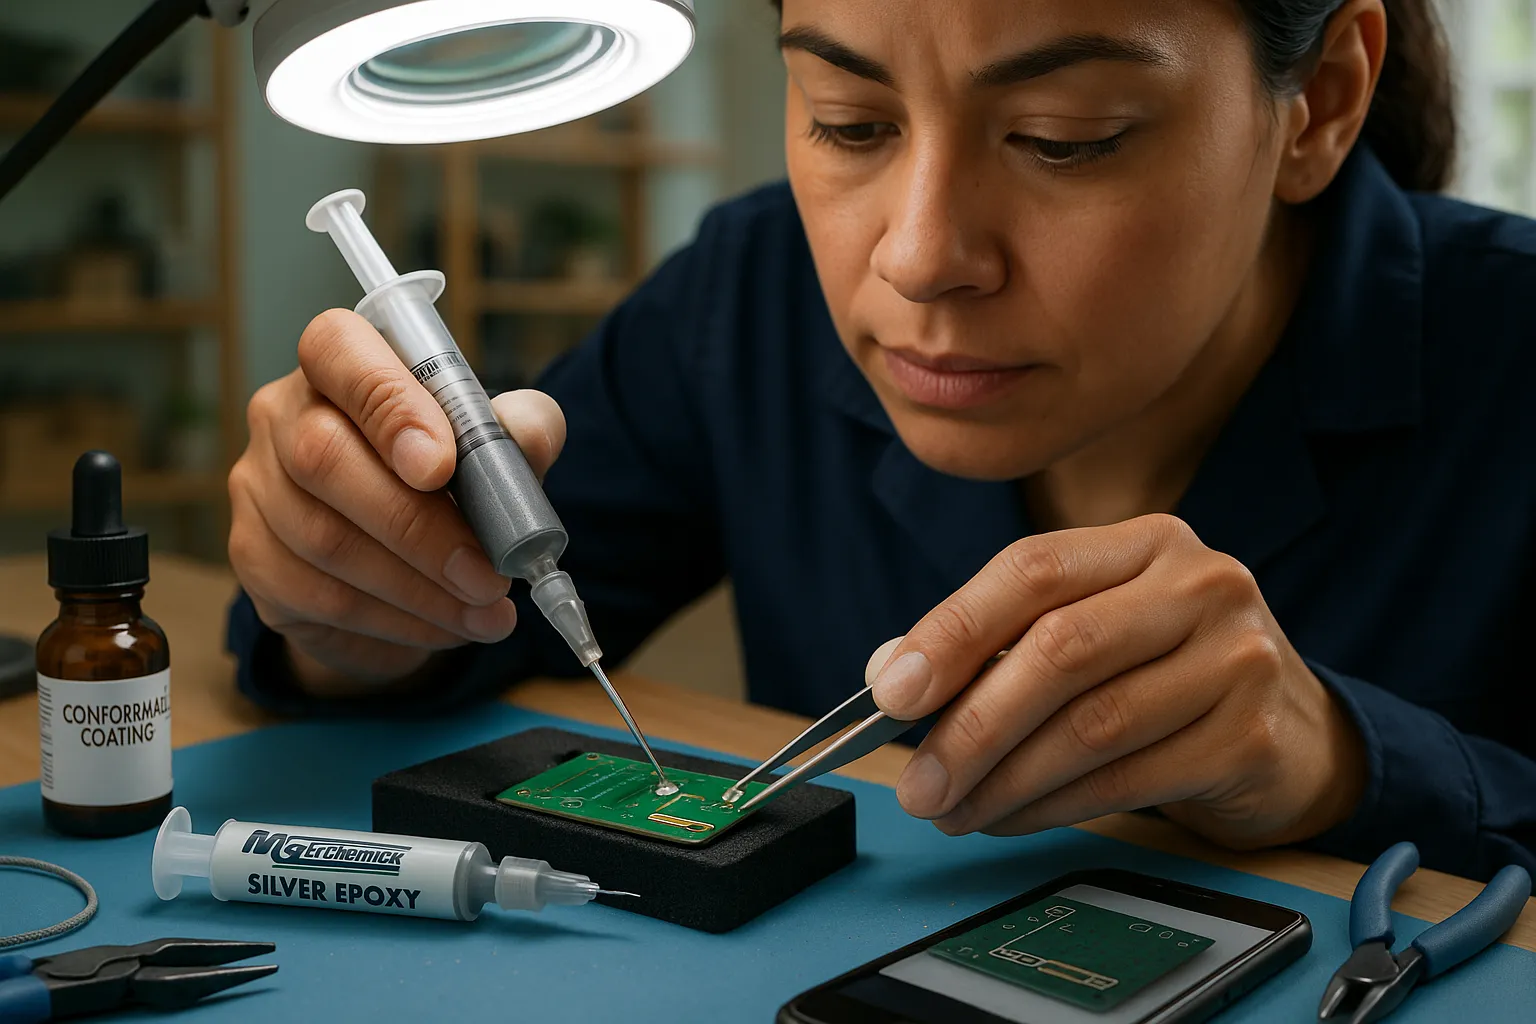
Applying Conductive Glue Correctly
Fact: Mix and apply per manufacturer ratios: excessive filler reduces adhesion. Clean surfaces with IPA, roughen large pads lightly with a fiberglass pen, then apply a thin bead of silver epoxy with a syringe. Position the component and clamp gently while the adhesive sets. Avoid thick blobs, they raise resistance and trap air.
Curing, Protecting, And Verifying Connections
Fact: Cure conditions affect conductivity: follow cure schedules. Some glues cure at room temperature in 24–48 hours, others use 80–120°C for accelerated cure. After cure, measure resistance with a Fluke meter. Seal the repair with silicone or a conformal coating to boost moisture resistance, especially for devices used near kitchens, bathrooms, or outdoors.
Safety, Tools, And Workspace Setup
Fact: Safety reduces both personal risk and repair failures. Set up a ventilated workspace and wear PPE.
Essential Tools And Consumables For Both Methods
Fact: Both methods share core tools: multimeter, ESD mat, magnifier, and fine tweezers. For soldering add a temperature-controlled iron (Hakko), solder wire (Kester), flux, desoldering braid, and tip cleaner. For conductive glue add syringes, mixing sticks, curing oven or hotplate, and Loctite or MG Chemicals epoxy.
Heat, Ventilation, And Personal Protective Equipment
Fact: Ventilation removes fumes: heat control prevents burns. Use a fume extractor or a window fan, wear safety glasses, and nitrile gloves when handling flux or epoxy. Keep a small fire extinguisher nearby. Never inhale epoxy vapors: cure in a well-ventilated area.
Quality Checks, Multimeter Tests, And Thermal Concerns
Fact: Post-repair checks catch mistakes early and prevent fires. Always validate continuity, resistance, and thermal behavior.
Start with continuity: check that the repaired trace or pad reads near zero ohms for power rails. For signal lines, compare resistance to a known-good board. Use a Fluke 115 to measure voltage drop under load: a higher-than-expected drop indicates poor contact.
Thermal test: power the device with a current-limited bench supply. Monitor temperatures with an infrared thermometer. If a glue repair runs hotter than 60°C in a low-power circuit, reconsider the method, conductive glue’s higher resistance generates heat.
Longer tests: run the device for several hours and cycle power. Devices like smart thermostats or hubs can reveal intermittent failures only after continuous operation.
Common Mistakes And How To Avoid Them
Fact: Most failures come from skipped prep and rushed cures. Preventable errors make up 80% of repeat repairs.
Common mistakes:
Using excess solder flux and not cleaning, causing corrosion.
Overheating pads and lifting them from the PCB.
Applying too much conductive glue or failing to mix properly.
Skipping sealing on glue repairs, leading to moisture ingress.
How to avoid them: clean with IPA, use temperature control, practice on scrap boards, and follow glue cure instructions exactly. When a pad lifts, don’t soldier over it, repair the copper or use jumper wires. Document your steps with photos: you’ll thank yourself later.
Long-Term Reliability, Environmental Resistance, And Cost Comparison
Fact: Soldered repairs generally outlast conductive-glue fixes in typical home environments. Solder joints tolerate thermal cycling and humidity better than many silver epoxies.
Environmental resistance: solder resists moisture and thermal stress better. Conductive glue can corrode or lose conductivity under humidity unless sealed. For outdoor or high-humidity installations (garage door controllers, outdoor sensors), solder plus conformal coating is best.
Cost: initial costs are similar for a one-off repair, solder wire and a small spool of flux are cheap. A decent soldering station (Hakko) is a larger upfront cost but pays off over many repairs. Conductive glue cartridges cost more per repair and you may need multiple syringes. If you repair many devices, invest in a good soldering station: if you need a one-time, heat-sensitive fix, conductive glue may be cheaper.
Final practical insight: For critical paths and power rails, you should choose solder. For delicate, heat-sensitive, or awkwardly-placed components, conductive glue gives a viable workaround. Make your choice based on current, mechanical stress, and environment, and always validate with a Fluke meter and a thermal check.
To provide the best experiences, we use technologies like cookies to store and/or access device information. Consenting to these technologies will allow us to process data such as browsing behaviour or unique IDs on this site. Not consenting or withdrawing consent, may adversely affect certain features and functions.
Functional
Always active
The technical storage or access is strictly necessary for the legitimate purpose of enabling the use of a specific service explicitly requested by the subscriber or user, or for the sole purpose of carrying out the transmission of a communication over an electronic communications network.
Preferences
The technical storage or access is necessary for the legitimate purpose of storing preferences that are not requested by the subscriber or user.
Statistics
The technical storage or access that is used exclusively for statistical purposes.The technical storage or access that is used exclusively for anonymous statistical purposes. Without a subpoena, voluntary compliance on the part of your Internet Service Provider, or additional records from a third party, information stored or retrieved for this purpose alone cannot usually be used to identify you.
Marketing
The technical storage or access is required to create user profiles to send advertising, or to track the user on a website or across several websites for similar marketing purposes.