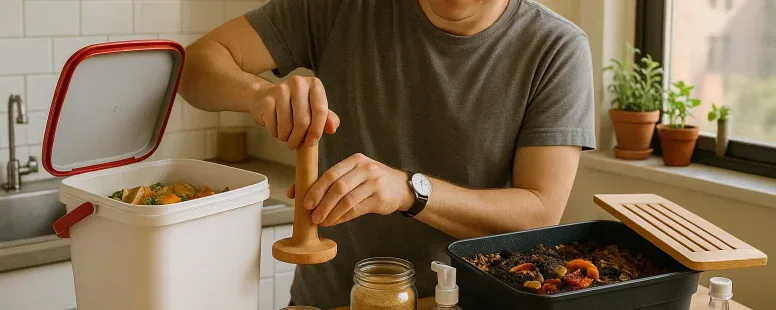
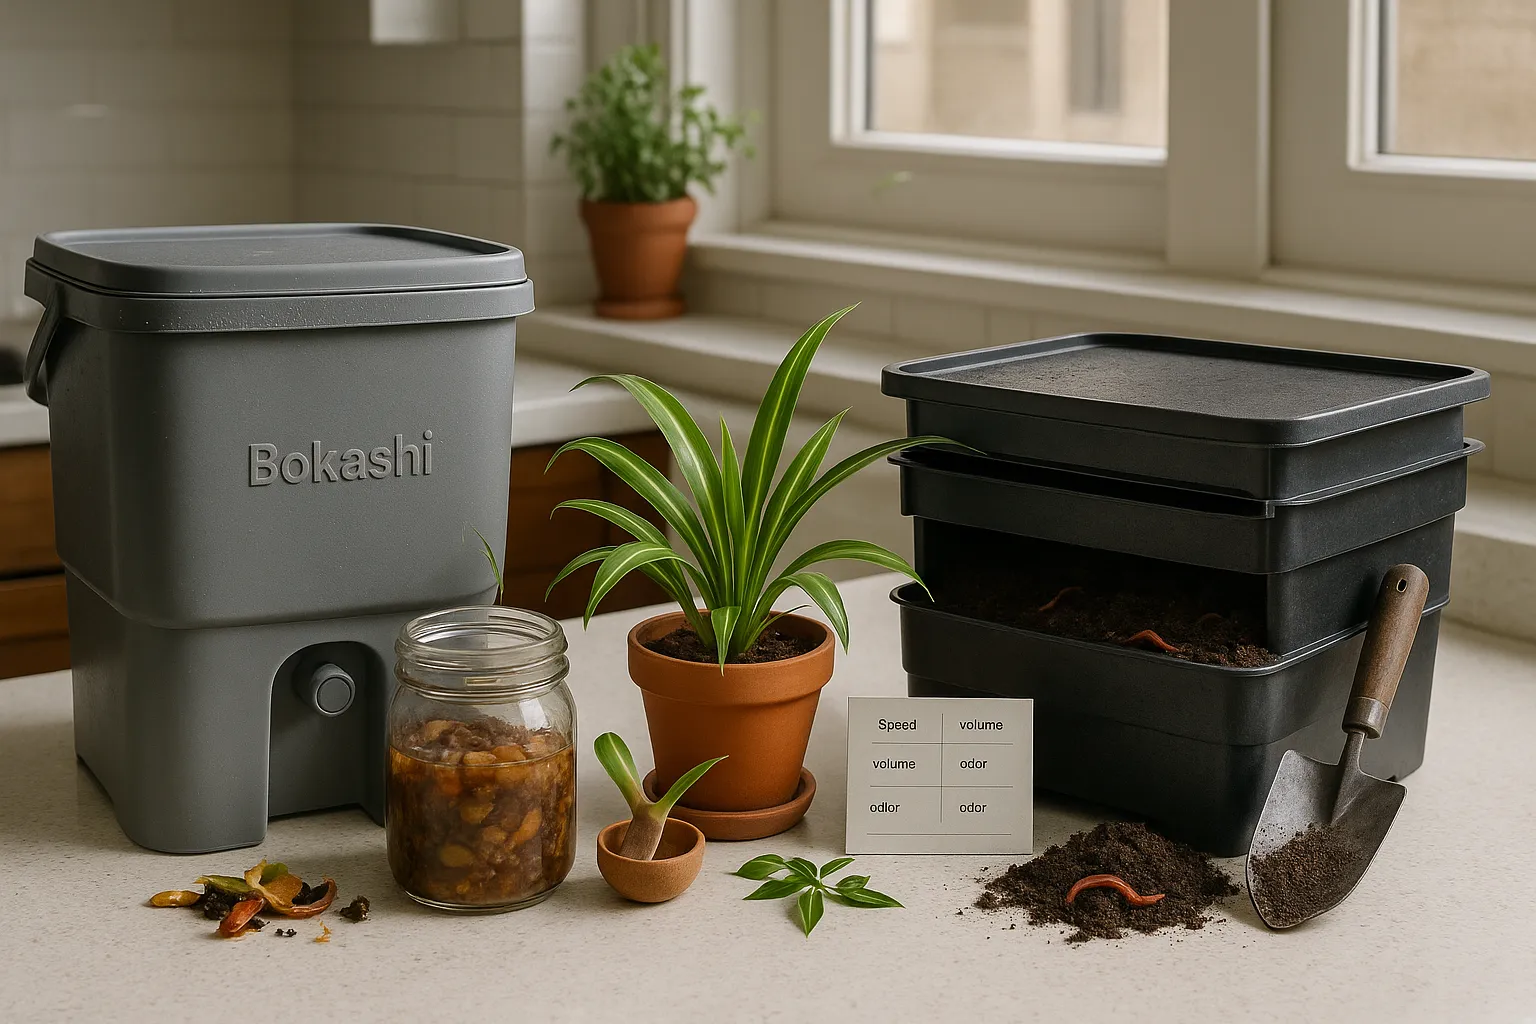
You can turn spoiled fruit, coffee grounds, and vegetable scraps into rich soil even if you live in a tiny apartment. Picture the tang of citrus, the sweet earth smell that follows when you open a compost bucket, and the quiet satisfaction of feeding life with your leftovers. Bokashi and vermicomposting both let you close the food loop on a kitchen counter, but they follow different logics: one preserves and ferments, the other invites animals to do the work. This article shows how each method works, what you need to set them up in a small kitchen, how daily care looks, and which fits your lifestyle best. Read on to learn clear, practical differences and to choose the system that will fit your space, schedule, and waste stream.
How Each Method Works: Process And Science
Fact: Bokashi relies on anaerobic fermentation: vermicomposting relies on aerobic worm digestion.
Bokashi Basics: Fermentation And Anaerobic Breakdown
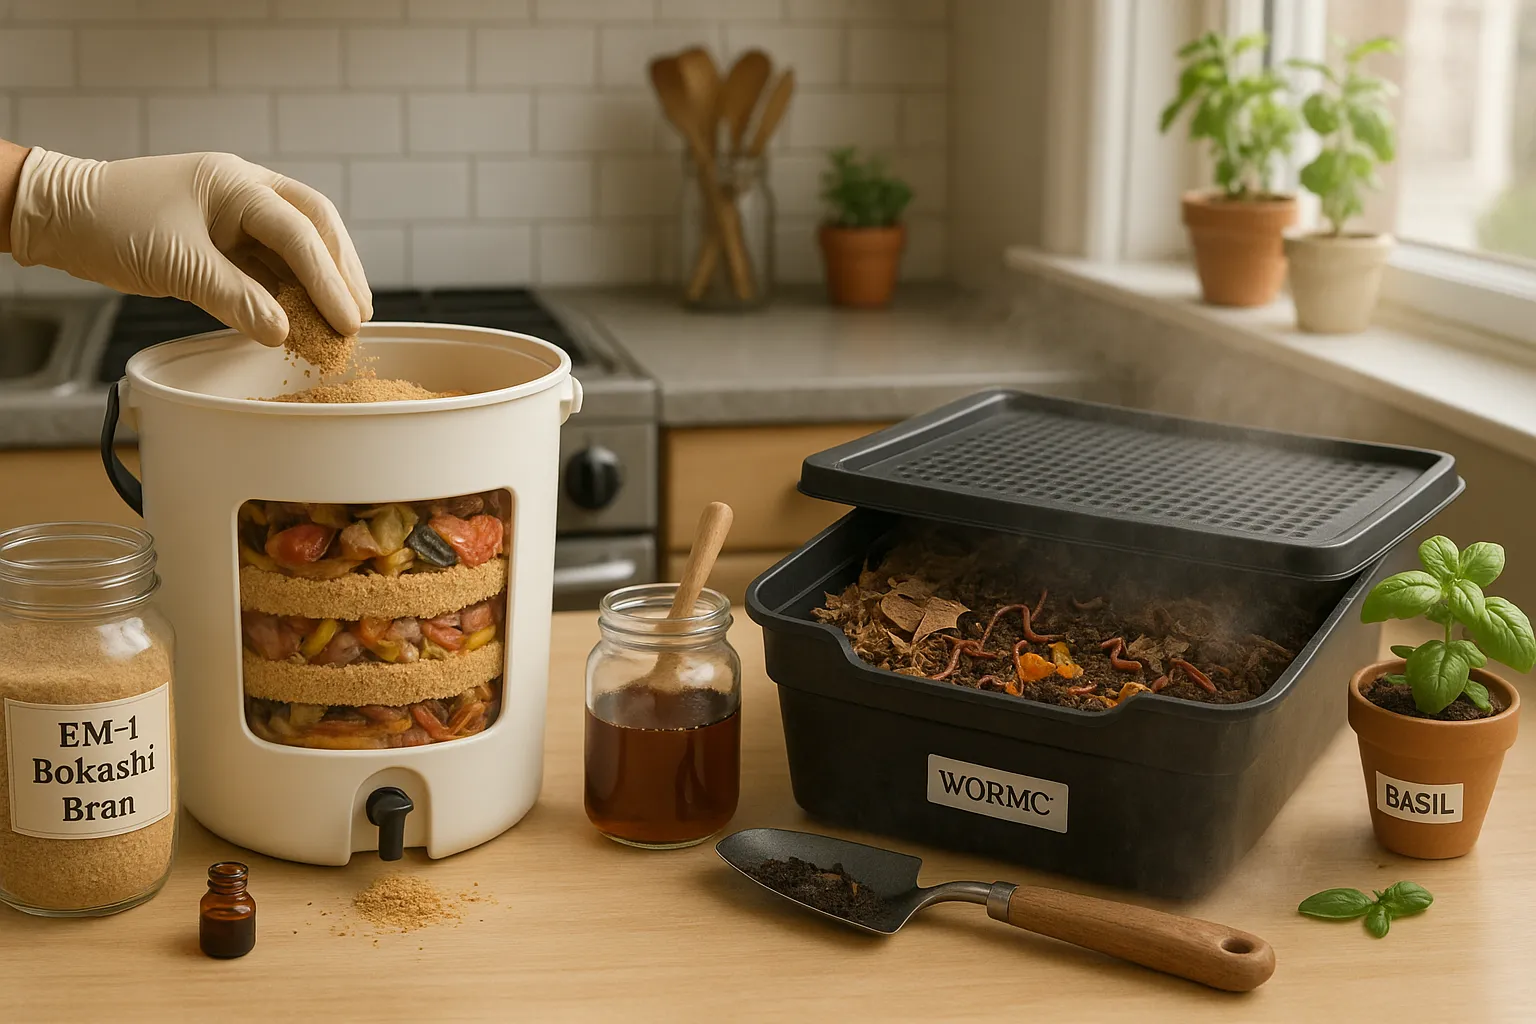
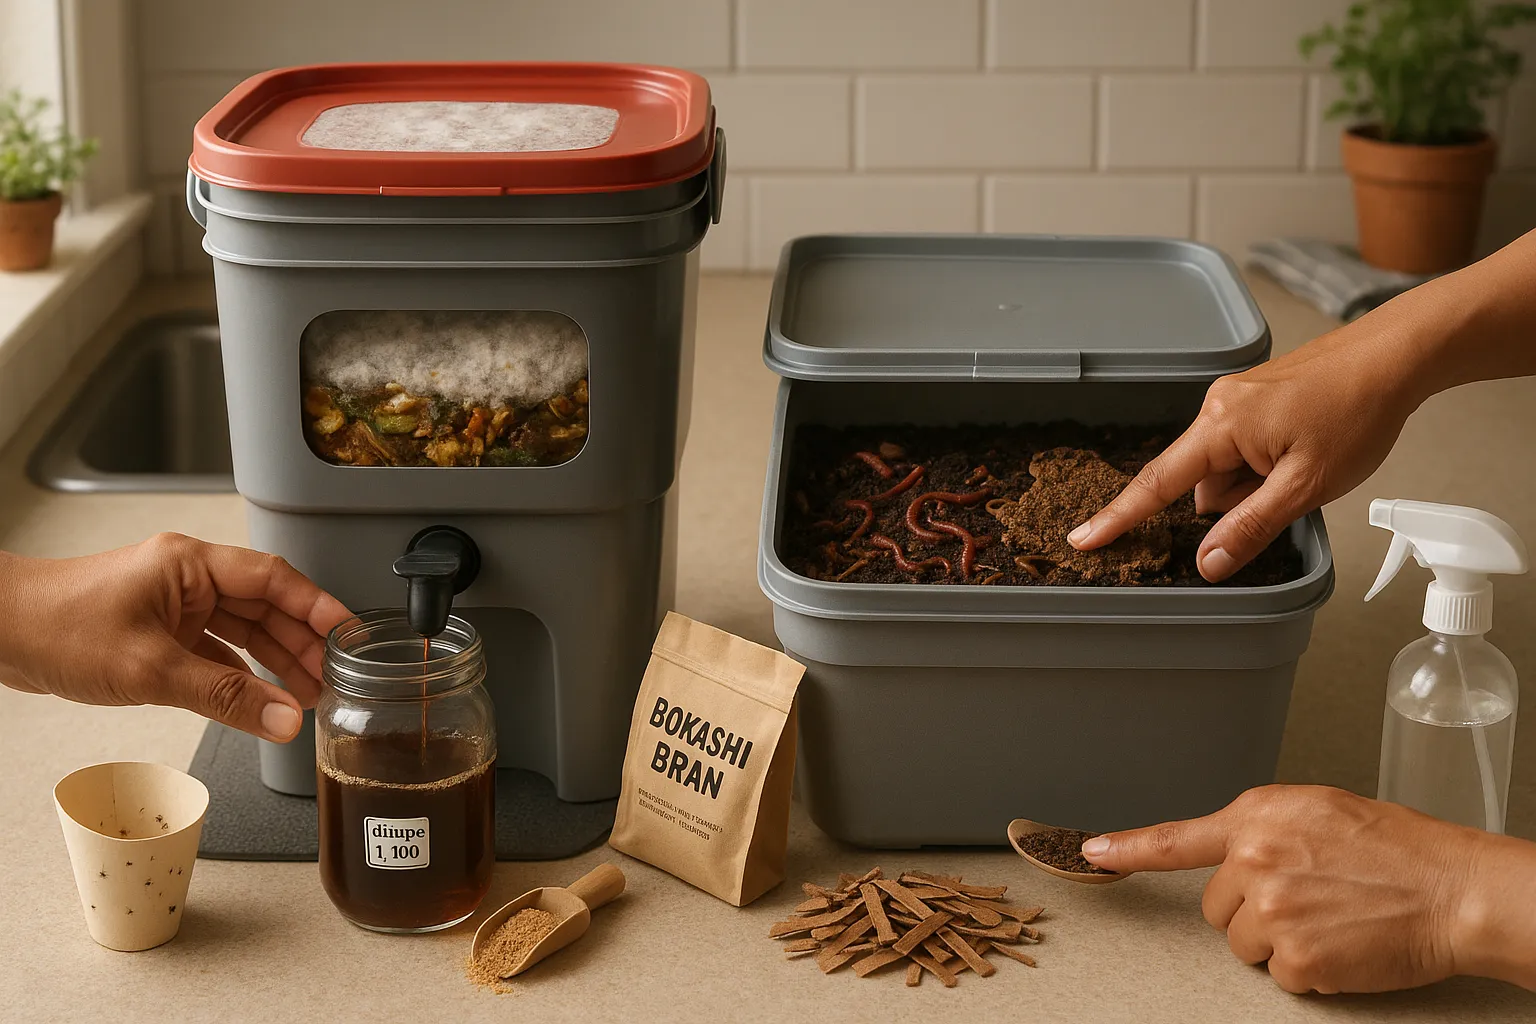
Bokashi uses effective microorganisms (EM) to ferment food in an oxygen-free container. You layer kitchen scraps and sprinkle bokashi bran (often inoculated with Lactobacillus, yeasts, and photosynthetic bacteria) between layers. Brands like EM-1 and commercial bokashi bran speed the process. The fermentation preserves nitrogen and reduces odors: it does not produce finished humus inside the bucket. Instead, the output is a pickled, acidic mix you bury in soil or add to a regular compost pile to finish decomposition. The science: microbes produce lactic acid and organic acids, lowering pH and suppressing putrefaction. That’s why meat, dairy, and cooked food that would normally attract pests become manageable.
Vermicomposting Basics: Aerobic Decomposition By Worms
Vermicomposting uses red wigglers (Eisenia fetida) or similar species to break down organic matter. You create a bedding, shredded cardboard, coconut coir, or aged compost, add worms, and feed them gradually. The worms ingest the material, fragment it, and their gut flora converts it into worm castings: a nutrient-rich, stable soil amendment. Aerobic bacteria and fungi also work alongside worms to oxidize organic matter. Temperature, moisture, and oxygen must stay within a narrow range: otherwise, worms pause or die. Worm systems produce finished compost on-site, so you get a direct end-product for potted plants or gardening.
Setup Requirements For Small Kitchens
Fact: Bokashi needs less space initially: vermicomposting needs ongoing vertical or shelf space.
Space, Size, And Placement Considerations
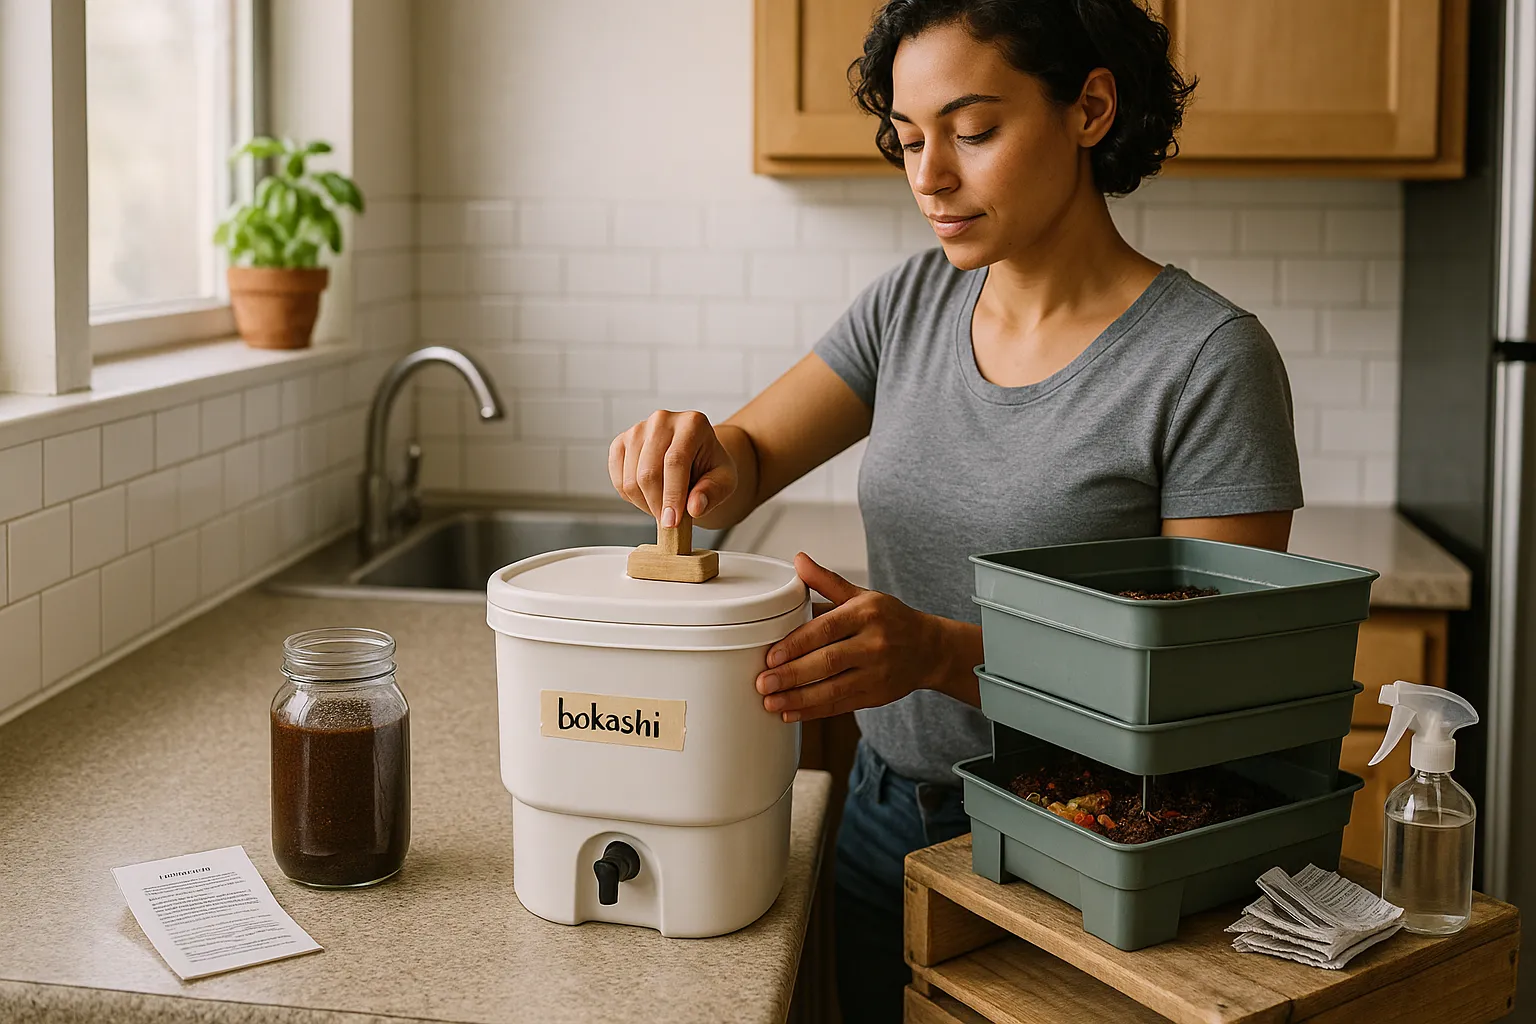
Bokashi buckets are compact and stackable. A typical 5–7 liter bucket fits under a sink or on a counter. You can store two buckets in a small cabinet. Vermicomposters like an apartment worm bin require floor or shelf space about the size of a small crate (12–18 inches wide). You may also use multi-tiered trays if you want to scale without expanding your footprint. Place vermicomposters away from direct heat and drafts: place bokashi where you can access it easily because you must press and seal the lid after each use.
Equipment, Materials, And Initial Costs
Bokashi: You need an airtight bucket with a spigot, bokashi bran (or inoculated bran alternatives), and a small pressing tool. Starter kits run $30–$60. Vermicomposting: You need a bin (plastic or wooden), bedding material, and starter worms (250–1,000 worms depending on bin size). Starter kits with bins and worms usually cost $50–$120. Both methods can be DIY: you can make bokashi bran with molasses and EM cultures, or build a worm bin from a plastic tote.
Time To Start Producing Compost (Ramp-Up Period)
Bokashi: You get fermented pre-compost continuously within 2 weeks of starting, but final soil-ready material appears after you bury or finish the fermented matter in soil, usually 2–6 weeks depending on temperature and microbial activity. Vermicomposting: Expect 2–3 months to produce substantial worm castings usable for potted plants. Worms need time to reproduce and stabilize, so feed slowly at first. If you want quicker returns, plan for frequent harvest cycles or multiple trays.
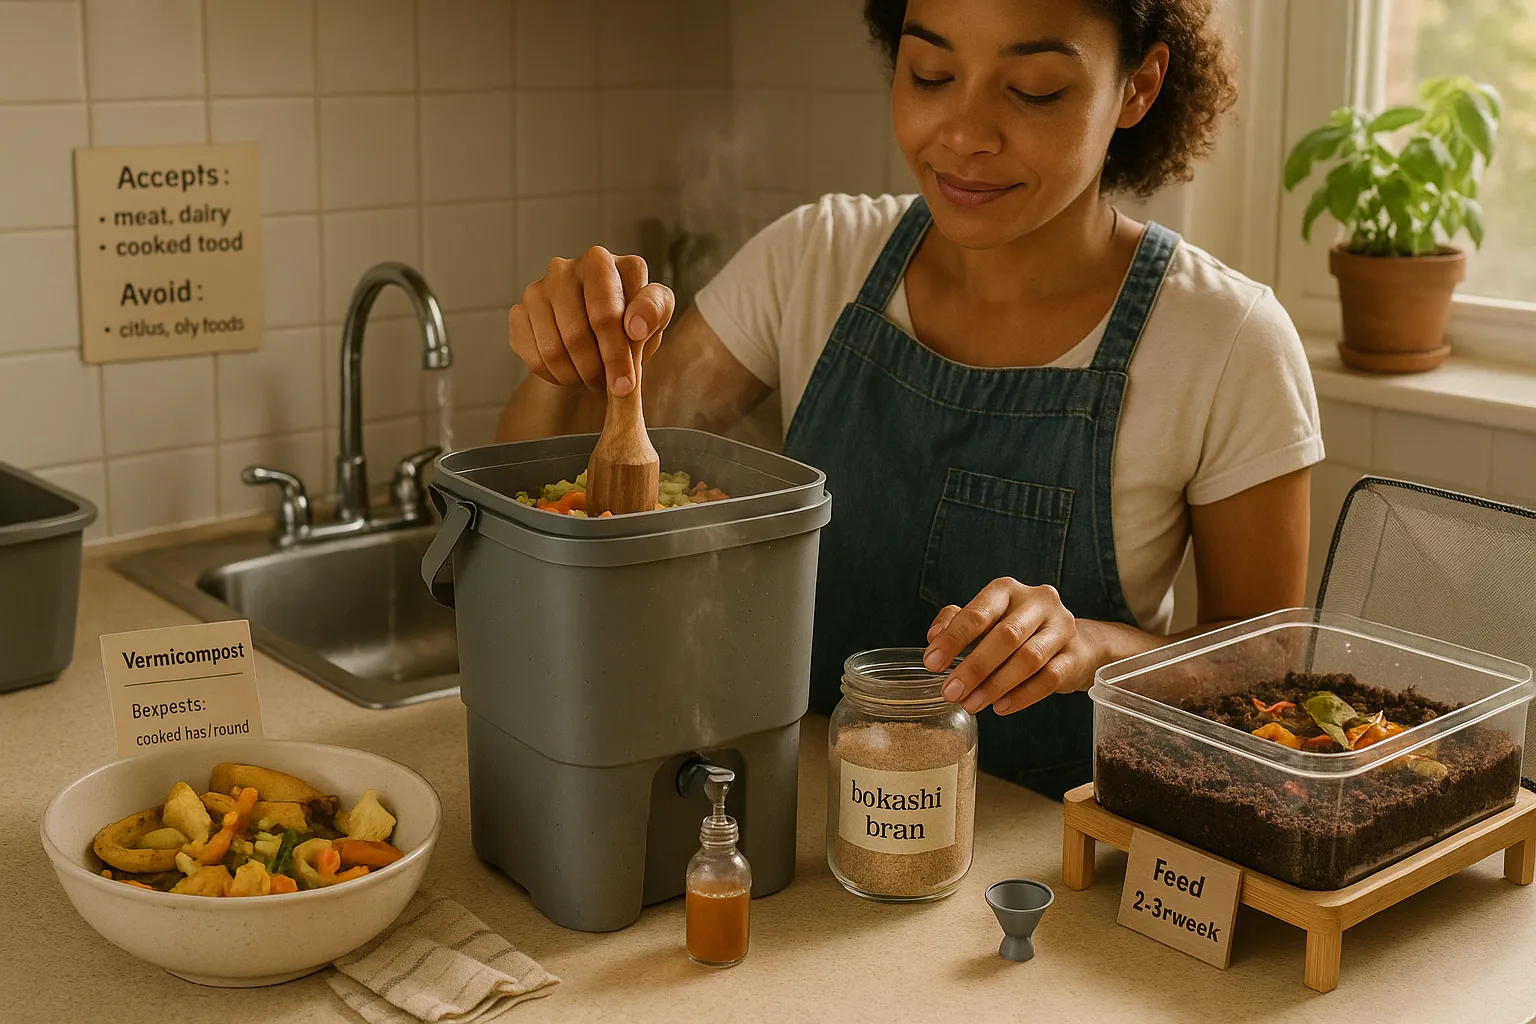
Bokashi accepts almost all food waste: fruit, vegetables, meat, fish, dairy, bread, and cooked food. That makes it the best option if you cook and have mixed food scraps. Vermicomposting prefers vegetable scraps, fruit peels, coffee grounds, and baked goods in moderation: avoid large amounts of citrus, onion, or oily foods at once because acidity and fats harm worms. Both methods benefit from chopping scraps into small pieces to speed processing.
Routine Tasks: Feeding, Emptying, And Maintenance Schedule
Bokashi: Add scraps, press them down, sprinkle bran, and seal the lid after each use. Drain any liquid (bokashi tea) every few days and dilute it 1:100 before using as a fertilizer or down the drain. When the bucket fills, ferment for 10–14 days sealed, then bury or add to a compost pile. Vermicomposting: Feed small amounts 2–3 times per week. Keep bedding moist but not soggy. Every 2–4 months, harvest castings by migrating worms to fresh bedding or using light separation. Expect occasional worm sorting and bedding refresh.
Odor, Moisture, And Pest Management In Small Spaces
Bokashi: Proper bokashi smells pleasantly sour or like pickles. A bad ammonia smell means too much protein or too little bran. Keep lid airtight and maintain a layer of bran. Vermicomposting: Proper vermicomposting smells earthy. A rotten smell signals anaerobic conditions, add dry bedding and increase airflow. Fruit flies are a common nuisance for both: prevent them with tight lids, quick burial of food in vermicompost bedding, or a mesh cover. Small apartments benefit from placing systems near a sink for easy clean-up.
Benefits And Drawbacks Compared Side-By-Side
Fact: Bokashi excels at accepting wide waste types and speed of initial processing: vermicomposting produces finished castings and boosts biological soil health.
Nutrient Output, End Uses, And Soil Benefits
Bokashi: Produces fermented material that returns nutrients quickly to soil and helps retain nitrogen. You get a nutrient-dense amendment after burying the fermented scraps for 2–6 weeks. It’s great for amending garden beds, potting mixes, or planting holes. Vermicomposting: Produces worm castings rich in microbial life, plant-available nutrients, and growth-promoting compounds. Use castings directly in potting mixes, as top-dress, or as tea. For houseplants, vermicompost often gives faster visible growth.
Speed, Volume Capacity, And Scaling Limitations
Bokashi: Processes high volumes of mixed waste quickly because fermentation compresses matter. You can scale by using multiple buckets. Vermicomposting: Limited by worm population and surface-area-to-volume ratio. To increase capacity you add trays or bins, but that multiplies the space requirement. If you produce lots of food waste, bokashi may keep up better.
Hygiene, Smell, And Suitability For Apartments
Bokashi: Low odor when done right and very compact. You can store buckets on a balcony or under a sink without disturbing neighbors. Vermicomposting: Clean and earthy when managed well but demands more attention to moisture and ventilation. Worms require steadier temperature ranges, which can be a challenge in unheated winter apartments. If you value hands-off convenience, bokashi wins: if you want high-quality castings on-site, vermiculture wins.
Troubleshooting Common Issues
Fact: Most problems come from moisture imbalance, wrong foods, or inadequate aeration: fixes are simple and predictable.
Common Bokashi Problems And Fixes (Leaks, Mold, Sour Smell)
Problem: Leaks or excess liquid. Fix: Use a bucket with a spigot and drain bokashi tea frequently. Dilute the tea 1:100 before using as a fertilizer. Problem: White mold or surface fuzz. Fix: White mold (actinomycetes) is usually harmless: scrape it away and keep contents compressed. Problem: Strong rotten or ammonia smell. Fix: Add more bokashi bran to restore microbial balance and reduce protein-heavy scraps: ensure airtight seal. Problem: Pests. Fix: Keep the bucket sealed and avoid leaving open scrap piles in the kitchen.
Common Vermicompost Problems And Fixes (Worm Health, Anaerobic Conditions)
Problem: Worms crawling out or dying. Fix: Check moisture, too wet and worms leave: too dry and they dessicate. Keep bedding damp like a wrung-out sponge. Problem: Anaerobic odor. Fix: Turn the top bedding, add dry shredded cardboard, and reduce fresh food inputs. Problem: Fruit flies. Fix: Bury food under bedding and add a layer of finished compost or dry material to cover scraps. Problem: Slow processing. Fix: Chop food into smaller pieces and feed less until worm numbers rise.
Choosing The Right Method For Your Kitchen
Fact: Your schedule, the types of food you throw away, and how much living space you have decide the best method.
Decision Checklist: Lifestyle, Waste Types, And Goals
Do you cook meat and dairy often? Choose bokashi. It accepts cooked and animal-based scraps. – Do you want finished compost on-site for houseplants? Choose vermicomposting for direct castings. – Do you travel frequently or keep irregular hours? Bokashi tolerates gaps because sealed fermentation arrests decay. – Is your kitchen very small and storage limited? Bokashi’s compact buckets likely fit better than a worm bin.
Combining Methods And Hybrid Approaches For Best Results
You can combine both: ferment mixed waste in bokashi buckets, then bury the fermented material in a worm bin or garden where worms and microbes finish the breakdown and generate richer castings. Another hybrid: use bokashi for troublesome scraps (meat, dairy) and feed veg scraps and coffee grounds to your worm bin. This gives you steady worm castings while keeping the worm environment stable.
Practical Next Steps: Where To Start And Safety Considerations
Start by tracking your weekly food waste for one week. Count how many meat/cooked-food scraps vs. veg scraps you produce. Buy a small bokashi kit if you produce mixed waste or live in an apartment. Buy a 10–20 liter worm bin and 500 red wigglers if you want ongoing castings and have a stable spot for the bin. Safety: wash hands after handling compost, avoid using bokashi tea undiluted (it’s acidic), and keep worms away from harsh chemicals and salty foods. If you have children or pets, place systems out of reach and label containers .
If you want a quick starter: try a single bokashi bucket and a 10-liter worm tray. That gives you flexibility to test both methods without committing more space. You’ll learn fast which matches your routine and tastes, and you’ll start reducing waste, feeding plants, and saving on potting mix in weeks, not months.
To provide the best experiences, we use technologies like cookies to store and/or access device information. Consenting to these technologies will allow us to process data such as browsing behaviour or unique IDs on this site. Not consenting or withdrawing consent, may adversely affect certain features and functions.
Functional
Always active
The technical storage or access is strictly necessary for the legitimate purpose of enabling the use of a specific service explicitly requested by the subscriber or user, or for the sole purpose of carrying out the transmission of a communication over an electronic communications network.
Preferences
The technical storage or access is necessary for the legitimate purpose of storing preferences that are not requested by the subscriber or user.
Statistics
The technical storage or access that is used exclusively for statistical purposes.The technical storage or access that is used exclusively for anonymous statistical purposes. Without a subpoena, voluntary compliance on the part of your Internet Service Provider, or additional records from a third party, information stored or retrieved for this purpose alone cannot usually be used to identify you.
Marketing
The technical storage or access is required to create user profiles to send advertising, or to track the user on a website or across several websites for similar marketing purposes.