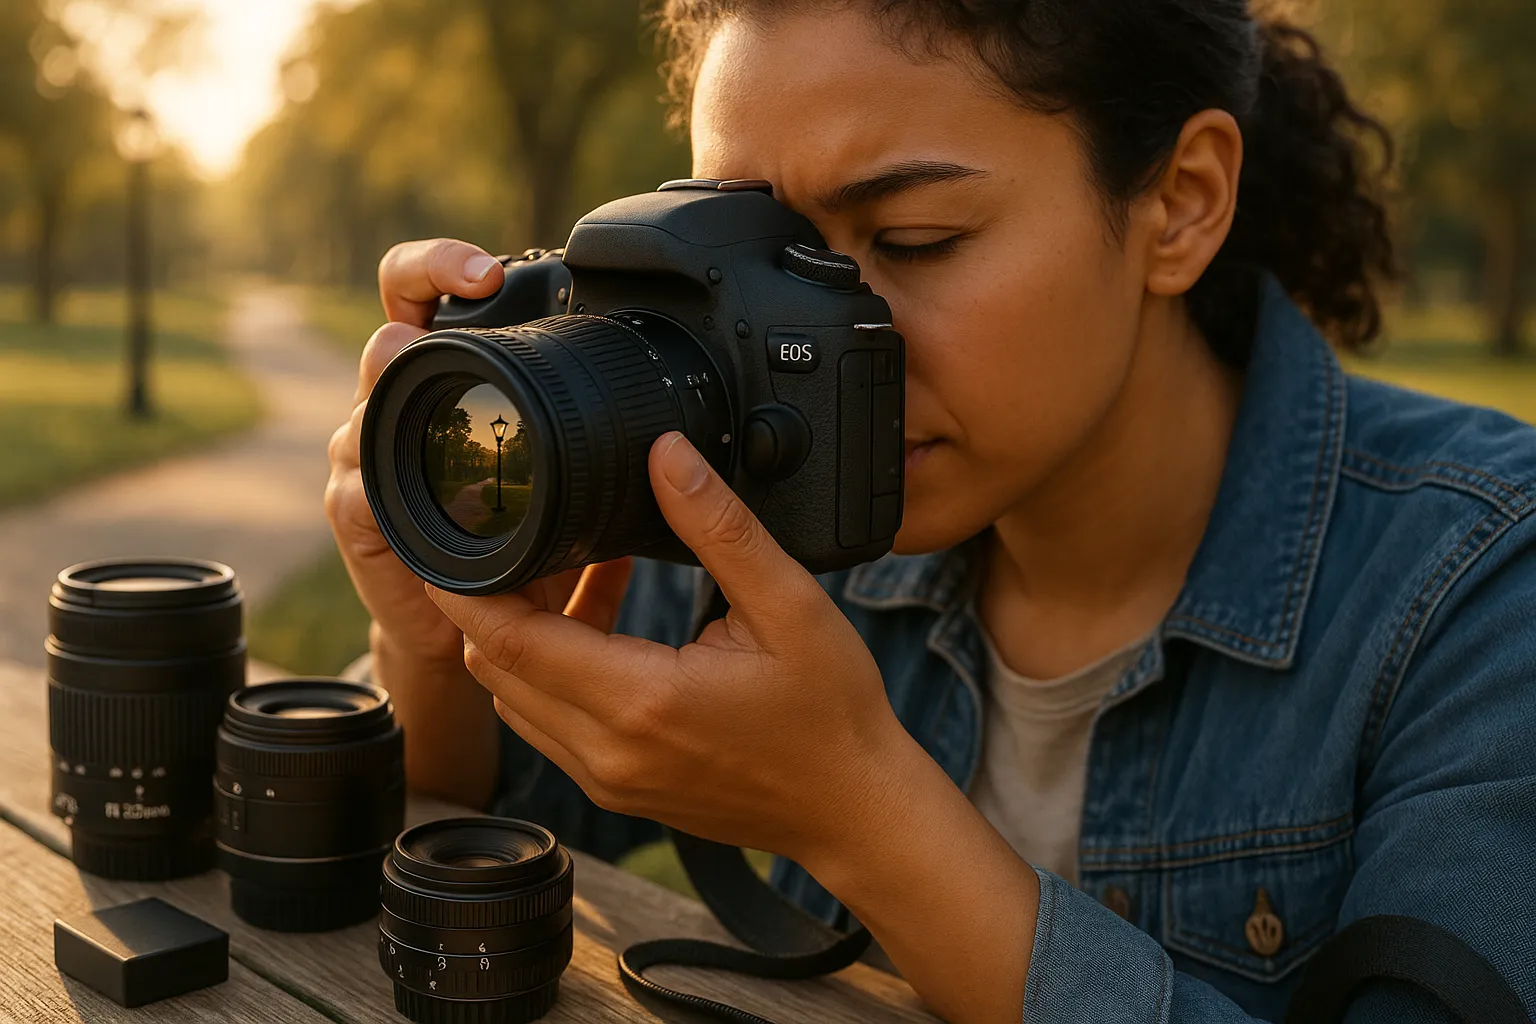
A DSLR still gives you control, image quality, and a lens ecosystem that grows with your skill. If you want the best camera for beginners DSLR shooters, you’re after a tool that teaches you while forgiving common mistakes. This article cuts through hype and shows practical choices, clear features to prioritize, and a setup that gets you shooting confidently in days, not months. Expect straightforward buying advice, real-world tradeoffs, and a short plan that moves you from point-and-shoot to purposeful photography.
Why Choose a DSLR as a Beginner
Fact: A DSLR gives you optical viewfinding, durable controls, and a wide lens selection.
A DSLR puts you in direct control. The optical viewfinder shows the scene in real time, without lag, which helps you learn composition and timing. Brands like Canon and Nikon offer dozens of compatible lenses from inexpensive kit zooms to specialty glass, you don’t outgrow the mount after a year. DSLRs also tend to have physical dials and buttons that make changing settings tactile: that sensory feedback accelerates learning.
Consider what matters to you: if you value battery life, an optical viewfinder extends shooting time compared with many mirrorless models. If you want ruggedness, entry-level DSLRs often have sturdier grips and weather resistance on mid-range bodies. That said, mirrorless cameras compete strongly in autofocus and size, but DSLRs still win for lens diversity and a forgiving learning curve. You’ll trade some small conveniences for a platform that grows with you.
Key Features to Look For in a Beginner DSLR
Fact: Prioritize sensor size, autofocus reliability, and simple ergonomics first.
Sensor Size and Image Quality
Fact: APS-C sensors balance price and performance for beginners.
An APS-C sensor gives you good low-light performance and decent depth-of-field control without the high cost of full-frame. For most beginners, an APS-C DSLR will produce sharp 20–24MP images that print nicely and crop well for social media. If you plan to shoot a lot in dim rooms or want the shallowest backgrounds, consider entry-level full-frame bodies like the Canon EOS RP or Nikon Z-series equivalents, though those push you beyond typical DSLR budgets.
Autofocus System and Shooting Speed
Fact: A reliable autofocus system keeps more shots in focus and reduces frustration.
Look for DSLRs with phase-detect AF and at least 9–11 cross-type points: modern entry-level bodies often include more. Continuous shooting speed matters if you photograph kids, pets, or action, 5–7 fps is fine for casual sports, higher if you plan serious wildlife work. Also check subject tracking features: they save you time and improve keeper rates.
Ergonomics, Controls, and Menu Simplicity
Fact: Comfortable handling and clear menus speed learning.
Test the grip and button layout in a store if you can. You want a camera that feels steady in one hand and puts key controls within reach. Favor models with a logical menu system, Canon and Nikon have different approaches, pick the one you find less confusing. A touchscreen helps for quick focus point selection, but don’t rely on it solely: tactile dials teach you faster.
Top DSLR Picks for Beginners (2026)
Fact: The best pick matches your budget and shooting goals, not just specs.
Accessible All-Rounder
Fact: The Canon EOS 250D (Rebel SL3) remains a friendly, well-balanced starter.
The EOS 250D offers an easy menu, solid 24MP APS-C sensor, and an optical viewfinder. It balances size and performance and has Canon’s large lens catalog behind it. You’ll get good battery life and helpful modes for learning. If you want a dependable all-round DSLR, this will get you there.
Best Value Entry-Level Model
Fact: The Nikon D3500 provides excellent image quality for a low price.
Nikon’s D3500 pairs a 24MP APS-C sensor with a simple interface and long battery life. It lacks some advanced AF features but the camera forces you to learn fundamentals. For budget buyers who want strong JPEGs out of the box, it’s a smart pick.
Compact and Lightweight Option
Fact: The Canon EOS 2000D (Rebel T7) is light, simple, and very affordable.
This model keeps weight down and offers clear, beginner-focused controls. It’s not the fastest or most advanced, but if you travel a lot and prefer a minimal kit, the T7 fits a small backpack and won’t slow you.
Advanced Beginner Upgrade Path
Fact: The Nikon D5600 moves you from beginner to serious hobbyist.
The D5600 adds a better AF system, vari-angle touchscreen, and more creative controls. It’s a camera that will remain useful as you invest in lenses and start manual shooting. Think of it as the bridge between learning and doing serious work.
Note: Mirrorless options from Canon EOS R and Nikon Z lines are increasingly popular in 2026: but, for a buyer wanting DSLR lens ecosystems and optical viewfinders, these picks remain relevant.
How To Choose Based on Your Shooting Style
Fact: Match camera features to the kind of photos you take most.
Travel and Street Photography
Fact: You want light weight, discreet handling, and a flexible focal range.
Choose a compact DSLR with a small prime or a 18–55mm kit zoom. A quiet shutter and quick AF for single shots matter. Carry a 24mm or 35mm equivalent prime for low-light streets and portraits. You’ll shoot more if the camera is not a burden.
Portraits and Low-Light Shooting
Fact: Sensor size and fast lenses determine background blur and low-light ability.
Opt for a camera that pairs well with a 50mm f/1.8 or 85mm f/1.8 lens. These lenses are affordable and produce pleasing subject separation. Pay attention to low-light AF performance and ISO handling: an APS-C body with a good prime will serve most portrait needs.
Sports, Wildlife, and Action Photography
Fact: You need fast autofocus, higher burst rates, and telephoto reach.
Pick a DSLR with strong continuous AF and aim for at least 6 fps. Combine the body with a 70–300mm or 100–400mm tele zoom. If you plan serious wildlife work, consider investing in a used pro-grade body for better tracking and autofocus sensors.
Practical Beginner Setup and First Purchases
Fact: A small, focused kit accelerates learning and avoids wasted spending.
Essential Lenses to Buy First
Fact: Start with a kit zoom and one fast prime.
Buy a 18–55mm or 18–135mm kit zoom for flexibility. Add a 50mm f/1.8 prime for portraits and low light. If you travel, consider a 24mm equivalent prime for street work. These lenses cover most beginner needs without very costly.
Fact: A steady tripod, a protective bag, and fast memory cards increase your shooting options.
Get a lightweight tripod like the Manfrotto BeFree for travel or a budget aluminum model for home. Choose a camera bag that fits body plus two lenses: Lowepro and Peak Design make popular options. Buy at least one UHS-II or Class 10 card (32–128GB) and a spare battery.
Basic Settings to Learn First (Aperture, Shutter, ISO)
Fact: Aperture, shutter speed, and ISO control exposure and creative effects.
Learn aperture priority to control depth of field, shutter priority for motion, and manual mode when you want full control. Practice with simple exercises: shoot the same scene at f/2.8, f/5.6, and f/11: then vary shutter speeds to freeze and blur motion. Learn ISO so you can keep images clean in low light.
Common Beginner Mistakes and How To Avoid Them
Fact: Avoiding a few common traps improves your results quickly.
Overreliance on Auto Mode and Not Practicing Manual Controls
Fact: Auto mode limits your learning and your creative options.
Switch from Auto to Aperture Priority and Manual gradually. Set small goals: shoot 100 shots in Manual this weekend. You’ll learn how each setting changes the image. It feels hard at first but you adapt fast.
Neglecting Lens Choice and Ignoring Post-Processing Basics
Fact: Lens choice often impacts image quality more than the camera body.
Invest early in a good prime rather than chasing the newest body. Learn basic post-processing with Lightroom or Capture One: cropping, exposure, and white balance corrections will rescue many otherwise dull photos. Don’t skip the editing, it’s part of photographing today.
Add a warning: buying every accessory at once wastes money. Start small, practice, then expand your kit when specific needs appear. You will improve quicker if you shoot often and reflect on what went wrong. Good lenses and consistent practice beat flashy specs every time.
To provide the best experiences, we use technologies like cookies to store and/or access device information. Consenting to these technologies will allow us to process data such as browsing behaviour or unique IDs on this site. Not consenting or withdrawing consent, may adversely affect certain features and functions.
Functional
Always active
The technical storage or access is strictly necessary for the legitimate purpose of enabling the use of a specific service explicitly requested by the subscriber or user, or for the sole purpose of carrying out the transmission of a communication over an electronic communications network.
Preferences
The technical storage or access is necessary for the legitimate purpose of storing preferences that are not requested by the subscriber or user.
Statistics
The technical storage or access that is used exclusively for statistical purposes.The technical storage or access that is used exclusively for anonymous statistical purposes. Without a subpoena, voluntary compliance on the part of your Internet Service Provider, or additional records from a third party, information stored or retrieved for this purpose alone cannot usually be used to identify you.
Marketing
The technical storage or access is required to create user profiles to send advertising, or to track the user on a website or across several websites for similar marketing purposes.