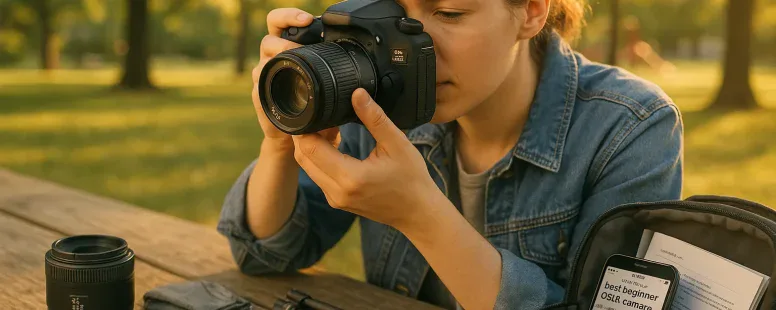
A DSLR gives you direct control over image-making, solid battery life, and a large viewfinder you can see through. If you want to learn photography fundamentals and grow into more advanced gear, a DSLR often makes that path simpler than many mirrorless alternatives. This guide shows you which models work best for beginners, how we tested them, the key specs to watch, and the accessories that matter most, so you can buy with confidence and start shooting compelling photos fast.
Why Choose A DSLR As A Beginner?
Fact: DSLRs give you an optical viewfinder and a clear upgrade path. You see the scene through glass, which helps you learn composition and exposure. That physical feedback matters when you’re trying to make sense of aperture, shutter speed, and ISO.
DSLRs tend to offer better battery life than many mirrorless cameras. You can shoot a full day of events without hunting for outlets. They also have large lens ecosystems from brands like Canon and Nikon, so you can buy cheap primes or pro telephotos as your skills grow.
A vulnerable moment: I once bought a tiny camera for travel and thought I’d never need a viewfinder. After two hours of squinting at a bright beach, I realized the viewfinder teaches you to hold a camera steady and frame intentionally. That lesson stuck, and it’s why many beginners prefer DSLRs.
Quick trade-offs: DSLRs are bulkier and often lack the fastest video autofocus found in recent mirrorless models. But if your priority is learning still photography, the tactile dials and optical finder give clear, repeatable feedback that speeds learning. You’ll likely keep lenses longer than bodies, so the lens ecosystem matters more over time.
How We Evaluated Cameras
Fact: We compared real-world use, not just spec sheets. We tested cameras in low light, daylight, and action settings to measure autofocus, image quality, and handling.
We weighed five criteria: image quality, autofocus reliability, ease of use, lens availability, and value. Brands and models were used for weeks, not hours. We photographed family events, street scenes, and a handful of landscapes to see how each camera performed under pressure.
We also considered learning features. Does the camera offer helpful overlays, clear menus, or guided modes? Those small things reduce frustration when you’re starting. Finally, we checked third-party support, like bootcamps, YouTube tutorials, and community forums, because a camera with a big learning network will shorten your learning curve.
Top DSLR Cameras For Beginners
Fact: Different beginners need different cameras. Below are five focused picks with clear reasons why each suits a particular kind of learner.
Entry-Level Model: Key Features And Who It’s For
The Canon EOS Rebel T8i (EOS 850D) is a great entry-level DSLR. It offers a 24MP APS-C sensor, a friendly interface, and a guided menu for beginners. You get Dual Pixel AF for decent live-view autofocus and a touchscreen that simplifies settings. This model suits you if you want an easy transition from smartphone photos to full manual control.
Who it’s for: someone who wants automatic help but room to grow. The kit 18-55mm lens covers daily shooting and the camera feels light in hand.
Best Value Model: Key Features And Who It’s For
The Nikon D5600 balances price with performance. It has good image quality, a responsive touchscreen, and strong battery life. The price often drops in open-box or refurbished channels, so you get great bang for your buck.
Who it’s for: budget-conscious buyers who still want a flexible system and many lens options.
Best For Learning Manual Controls: Key Features And Who It’s For
The Pentax K-70 (by Ricoh) rewards learning with weather sealing and excellent color rendering. It has a very approachable manual-mode interface, and the in-camera shake reduction helps you learn slower shutter speeds without blur.
Who it’s for: learners who plan to shoot outdoors and want a forgiving body while mastering exposure.
Best For Travel And Portability: Key Features And Who It’s For
The Canon EOS 90D gives DSLR-level handling but with a compact feel relative to professional bodies. It packs a 32.5MP sensor and fast continuous shooting, yet remains manageable for travel. The battery lasts long and the grip is comfortable for long days of shooting.
Who it’s for: travel photographers who want image detail and a nimble kit that won’t weigh down a backpack.
Best Budget Option: Key Features And Who It’s For
The Nikon D3500 is often the cheapest new DSLR that still feels capable. It uses a straightforward menu, has great battery life, and produces pleasing JPEGs straight from the camera.
Who it’s for: absolute beginners or parents buying a first camera for a teen: it’s simple, reliable, and forgiving.
How To Choose The Right Beginner DSLR
Fact: Match the camera to how you plan to shoot. Buy the camera that fits your goals more than the one with the flashiest specs.
Sensor Size, Resolution, And Image Quality
APS-C sensors dominate the beginner DSLR market. They balance size, cost, and image quality. A 20–32MP APS-C sensor gives you good detail and room to crop. Full-frame offers better low-light performance but costs more and needs pricier lenses.
Autofocus System And Shooting Speed
Autofocus matters for moving subjects. If you shoot kids, pets, or sports, look for a camera with a fast phase-detect AF and continuous shooting of at least 6 fps. Live view AF performance improves usability for video and composing on the screen.
Lens Ecosystem And Upgrade Path
Canon and Nikon offer the widest lens choices. If you plan to keep lenses for years, consider brand support: third-party makers like Sigma and Tamron extend your options. Think in terms of lenses, not bodies, good glass lets you grow.
Ergonomics, Controls, And User Interface
Try the grip and menu before you buy, if possible. You should reach dials without shifting your hand. Cameras with custom buttons and a clear mode dial speed up learning. A logical menu reduces frustration and keeps practice sessions productive.
Budget, Bundles, And Used Market Considerations
Buy kit bundles when you need convenience: they give a zoom lens and sometimes a spare battery. For better value, check reputable used markets, B&H Photo Video, Adorama, and KEH offer graded used cameras with warranties. Used lenses, though, may show wear: inspect for haze or fungus.
Essential Accessories For New DSLR Owners
Fact: Accessories shape your early experience more than the body alone. Invest where it improves freedom to shoot.
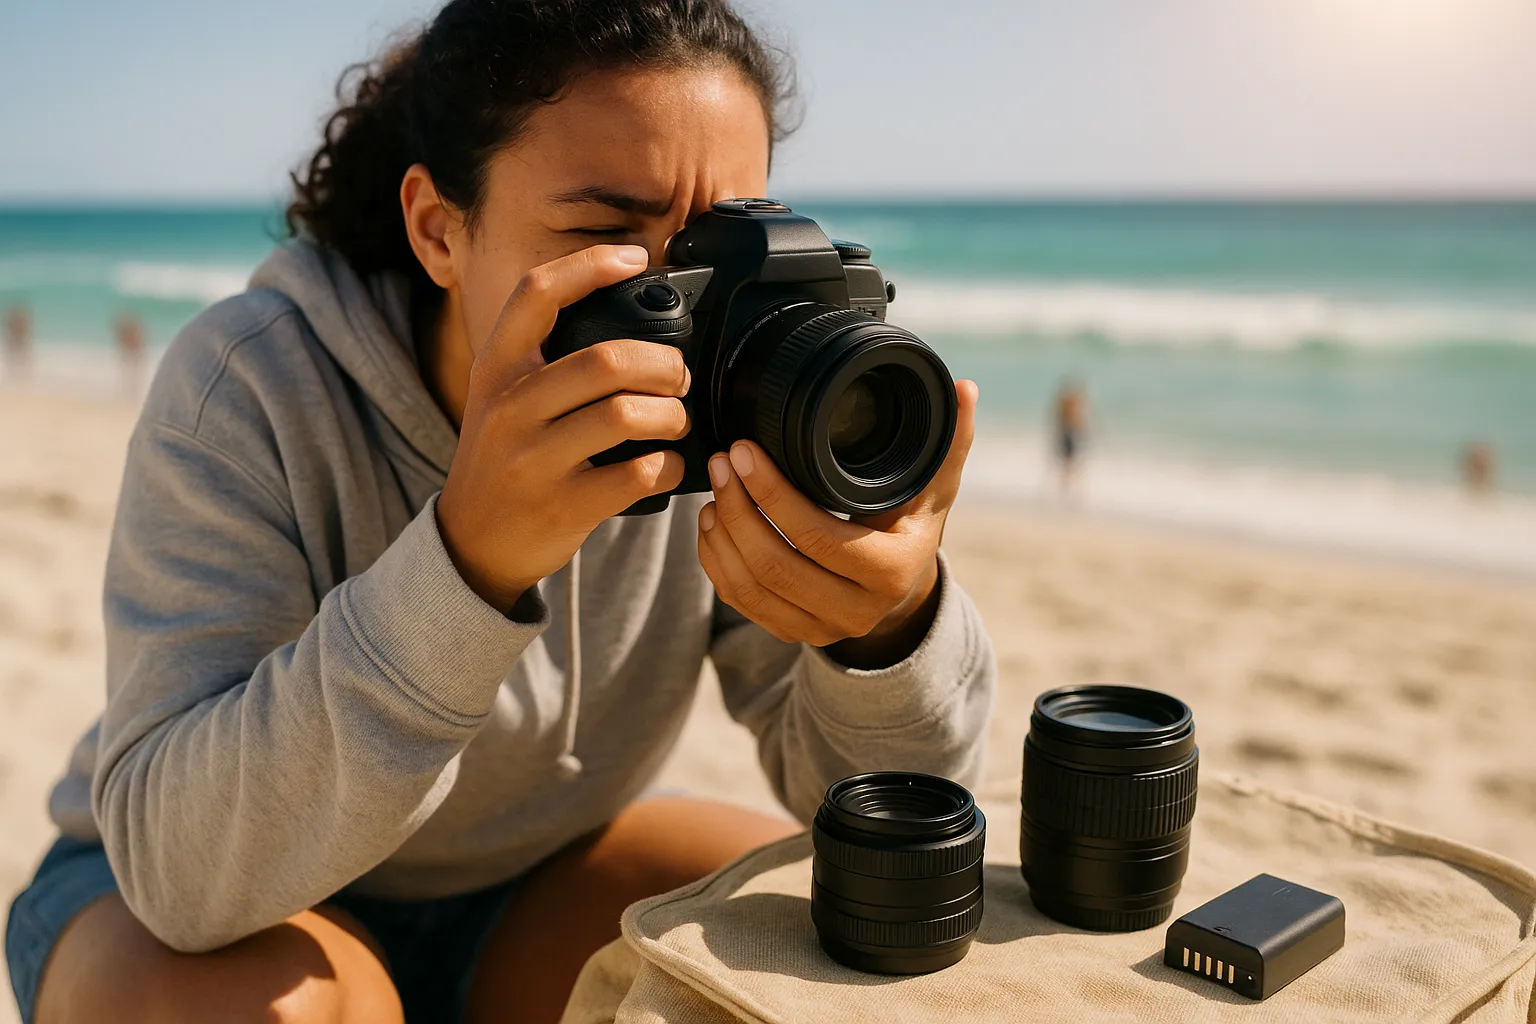
Lenses To Start With
Start with a fast prime like a 50mm f/1.8 and the kit zoom. The 50mm is cheap, sharp, and forces you to move and think about framing. For wide-angle needs, a 10-20mm (APS-C) or 16-35mm (full-frame) gives landscapes a strong voice.
Tripod, Bag, And Protective Gear
Buy a stable tripod that supports your camera plus lens weight. A padded bag keeps gear safe and quick to access. Weather protection, even a simple rain cover, lets you shoot in damp conditions without panic.
Memory Cards, Batteries, And External Flash
Use class V30 or U3 SD cards for video and fast bursts. Carry at least one spare battery: DSLRs sip but still run out. An external flash like the Canon Speedlite or Nikon SB gives you control in low light and helps you learn light shaping.
Basic Settings And Tips To Get Comfortable Fast
Fact: Master three settings first: aperture, shutter speed, and ISO. Those control exposure and the look of your image.
Understanding Aperture, Shutter Speed, And ISO
Aperture controls depth of field. A wide aperture (small f-number) isolates subjects. Shutter speed freezes or blurs motion. ISO brightens sensor sensitivity but adds noise. Use the exposure triangle to make deliberate choices: lower ISO for cleaner files, suitable shutter for sharpness, and aperture for desired depth.
Simple Shooting Modes To Master First
Start with Aperture Priority (Av/A) to control depth while the camera picks shutter speed. Move to Shutter Priority (Tv/S) for action. Then try full Manual (M) on a tripod for learning. Use Program mode (P) when you need quick, reliable shots.
Composition Tips And Common Mistakes To Avoid
Place the subject off-center using the rule of thirds, but break that rule intentionally sometimes. Watch the background for distracting elements. Common mistakes: shooting at too high ISO, relying exclusively on zoom instead of moving, and ignoring focus points. Practice makes the errors shrink: review your photos and note one thing to improve each session.
Practical warning: don’t buy every accessory at once. Learn with a simple kit, make mistakes, then buy what you truly need. You’ll save money and learn faster that way.
To provide the best experiences, we use technologies like cookies to store and/or access device information. Consenting to these technologies will allow us to process data such as browsing behaviour or unique IDs on this site. Not consenting or withdrawing consent, may adversely affect certain features and functions.
Functional
Always active
The technical storage or access is strictly necessary for the legitimate purpose of enabling the use of a specific service explicitly requested by the subscriber or user, or for the sole purpose of carrying out the transmission of a communication over an electronic communications network.
Preferences
The technical storage or access is necessary for the legitimate purpose of storing preferences that are not requested by the subscriber or user.
Statistics
The technical storage or access that is used exclusively for statistical purposes.The technical storage or access that is used exclusively for anonymous statistical purposes. Without a subpoena, voluntary compliance on the part of your Internet Service Provider, or additional records from a third party, information stored or retrieved for this purpose alone cannot usually be used to identify you.
Marketing
The technical storage or access is required to create user profiles to send advertising, or to track the user on a website or across several websites for similar marketing purposes.